Showing posts with label christmas. Show all posts

Wednesday, 7 January 2015

And so it is 2015.


The end of 2014 passed by in a blurr of celebrations, baby cuddles and far too much food. The house, which we'd spent so much time fixing up over the year, became the venue for a large family Christmas and an 80th birthday party for my Grandmother. Cooking for large sit down dinners and making creative decorations took up lots of time (in a fun way though) and I just felt very thankful for have a home to share with family and friends.


I used pinterest for birthday inspiration making several things for Grandma, including an 80 photo wall.
A koala has made itself home in our side gumtree.
Henry and I made ornaments of his hands and feet at his first Christmas using this recipe (and found it worked much better than the first salt dough ones that we first made).
My little cousin got married and the bombonieres were these lovely succulents.

 I hope you are all having a relaxing start to the new year and I'll be posting soon with some new things I've been working on.
Lisa x


Friday, 28 November 2014

Fabric scrap wreath.

To everyone in the US, Happy Thanksgiving! Here in Australia we don't celebrate thanksgiving so our next holiday is Christmas and I've already started getting into the Christmas spirit with some fun crafts.

I went to these beautiful markets with some friends on the weekend and was in awe of a gorgeous wreath made of scrap fabrics for $120. I really wanted a nice wreath for our front door but didn't have any money to splurge on one but was inspired to try and work out how to make a scrap fabric wreath of my own.
To make this wreath you will need:
a wire coathanger
fabric scraps in colours of your choice (I also used some lace)
a short length of ribbon
fake leaves*
2 fake birds*
fake holly/pinecones*
a glue gun
 *I didn't end up having to purchase any items but these could be bought from your local craft store or you could personalise your wreath using whatever you wish.

1. Cut your fabric scraps to similar lengths- I just kept cutting more until I had enough for the whole wreath. I also used pieces of lace which were so quick to cut up.
2. Twist your coat hanger to make a circle shape and tie the fabric scraps around the outside.
3.Work out an arrangement you are happy with using fake leaves/birds/holly etc. Once happy use a glue gun to stick down the pieces in place.

As a finishing touch I removed some of the berries from some plastic holly I had and now I think it's just right. I am very happy with the end result and think these would also make lovely gifts.

This wreath is super quick to make- it was done in one Henry sleep (app 1 hour).
And there you have it- a freebie wreath that looks fantastic on our front door. Bring on Christmas!
Lisa x


Wednesday, 18 December 2013

Pom pom wreath

I saw this adorable wreath in a store the other day made from felt balls and thought I'd try and replicate it for our house. It's the kind of wreath that could be put up at christmas but still left hanging for the rest of the year. It was over a hundred dollars where my little replica cost $4 and was inspired by things I had lying around the over crowded craft room.
For this project you will need:
pompoms ( I used a variety of sizes but you can use whatever size you like- I ended up needing to buy two more packets, thus the $4 cost)
a wreath frame ( I used a metal bell frame covered in fabric that I'd picked up from a garage sale years back).
a glue gun
Simply glue away pompoms until you have covered every single surface of the bell (or wreath) on both sides. Then think about where you would like it to go and hang up with string, ribbon, whatever you've got and enjoy. I think if I make another one in the future I'll go with pom poms the same size but this one still worked out pretty cute.

 I placed it in the hallway and it ties in nicely with my hooks. I think I'm  getting a little obsessed with coloured balls!
Lisa x
P.s I'm linking up with
We Like To Learn As We Go
Someday Crafts

Monday, 16 December 2013

Homemade Christmas cards.

There is something really special about homemade cards. I love making unique cards for friends and family who appreciate the homemade. For far this festive season I've been working on two design types which channel my love for vintage and second hand.
A few weeks back at a garage sale I was fortunate enough to thrift a small travel scabble set. These pieces inspired some scrabble cards. If you are not familiar with my love of scrabble pieces, check out my scrabble sign, scrabble coasters, scrabble magnets, scrabble thumb tacks and scrabble chalk board. You can tell I'm always on the lookout for old scrabble boards.
I've made a range of cards but these were three of my favourites. For the background I used pictures I had found in an old version of Frankie magazine. I'm more a 'true meaning of Christmas' type and tend to avoid Santa related things but this vintage Santa print was too adorable to pass. I trimmed the backgrounds to size and glued them on blank cards. Then I used magic dots to attach the letters.


My second style of cards was inspired by love of animals in Christmas hats. I found second hand cards (and Peter Alexander pyjama wrapping) with cute pictures and cut them to fit little wooden frames that I picked up from cheap as chips ( they're two dollars for three). I used magic dots to put the pictures in place and then regular UHU glue to stick the frames on. Some of my cards also had backgrounds, especially with the smaller frames.
I love these little cards and how much more special they are than a packet of 20 cards from a local store.
Enjoy creating your own Christmas cards.
Lisa x
P.S I'm linking up with
The Dedicated House

Wednesday, 26 December 2012

A thrifty christmas.


Merry Christmas!
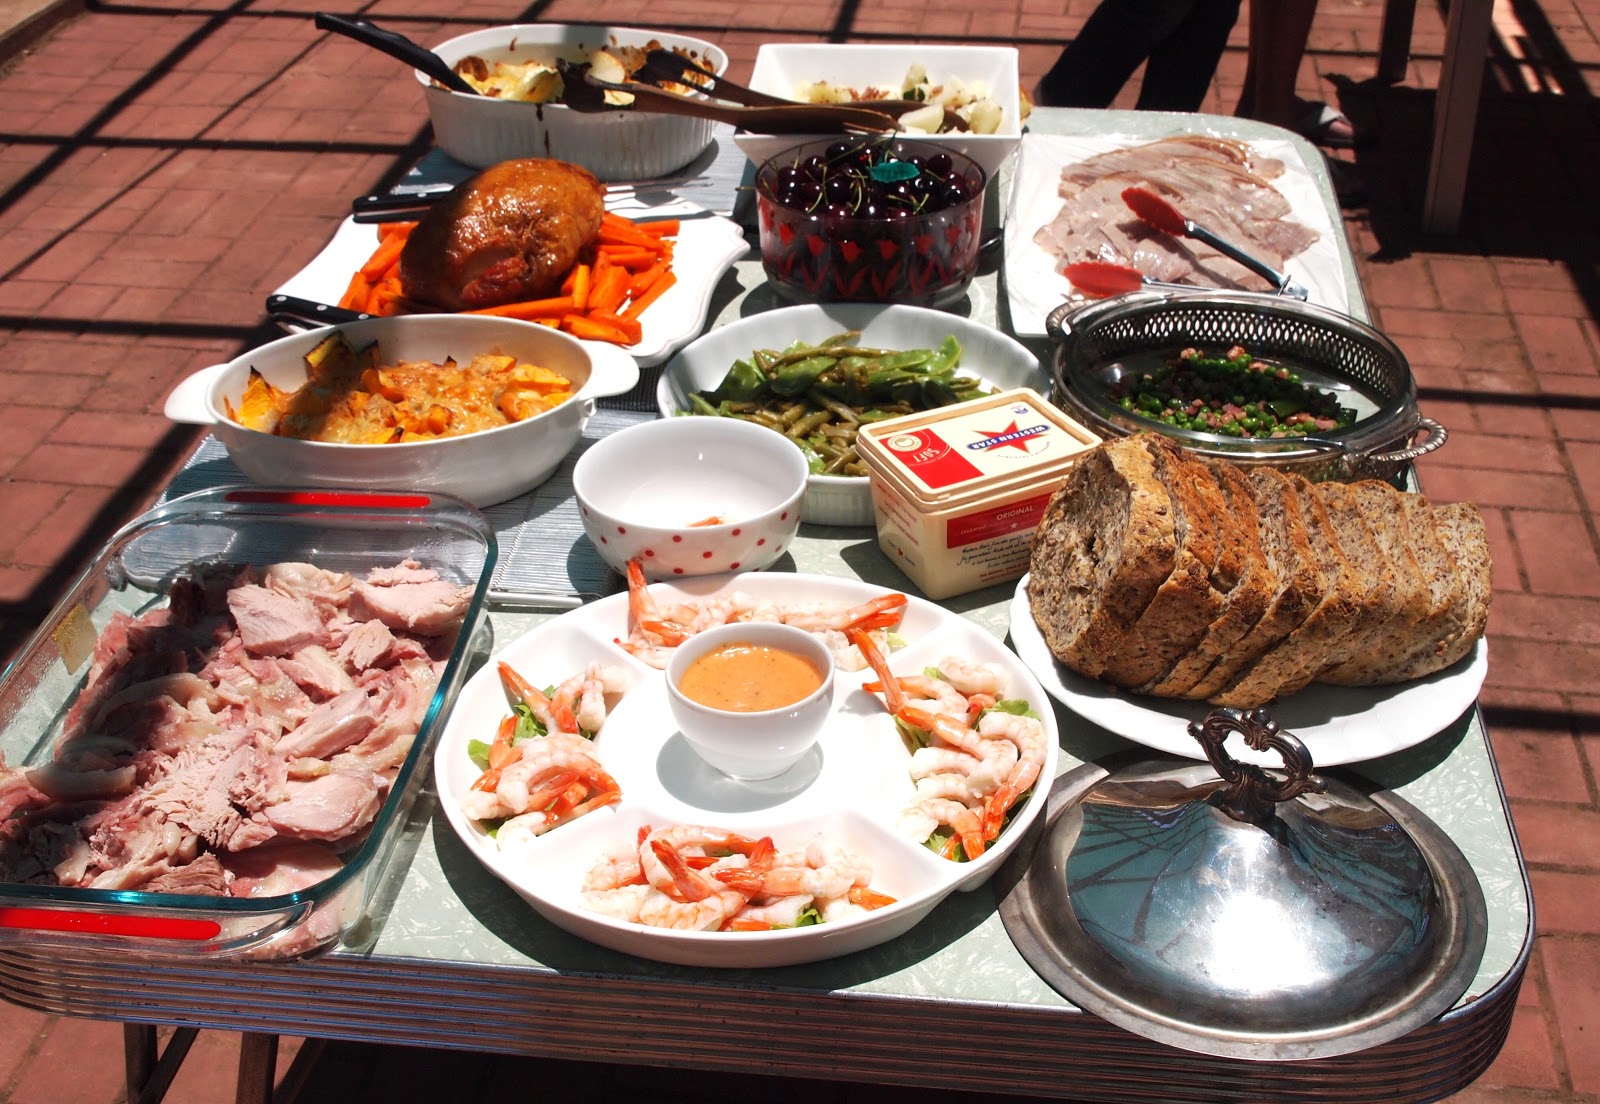
This year was the first year I've ever been in charge of hosting christmas and it was so much fun preparing all the food; with the help of Libby, husband and husband's brother. We went for a buffet style lunch of prawns, pickled pork, ham, roast turkey and mounds of vegetables and some amazing cocktails and mocktails. Delicious- and plenty of leftovers for the next few days...I just love christmas leftovers!!
For the past year or so I've been thrifting so much and it was a lovely chance to use all my thrifted items with others and see how much I've collected. We are slowly increasing out outdoor furniture collection and amount of tablecloths and serving dishes and utensils. We always love having people around but there is something special about hosting christmas and bringing out the best of everything to share with everyone- after all what's the point of pretty things unless you get to enjoy using them.
Lisa x

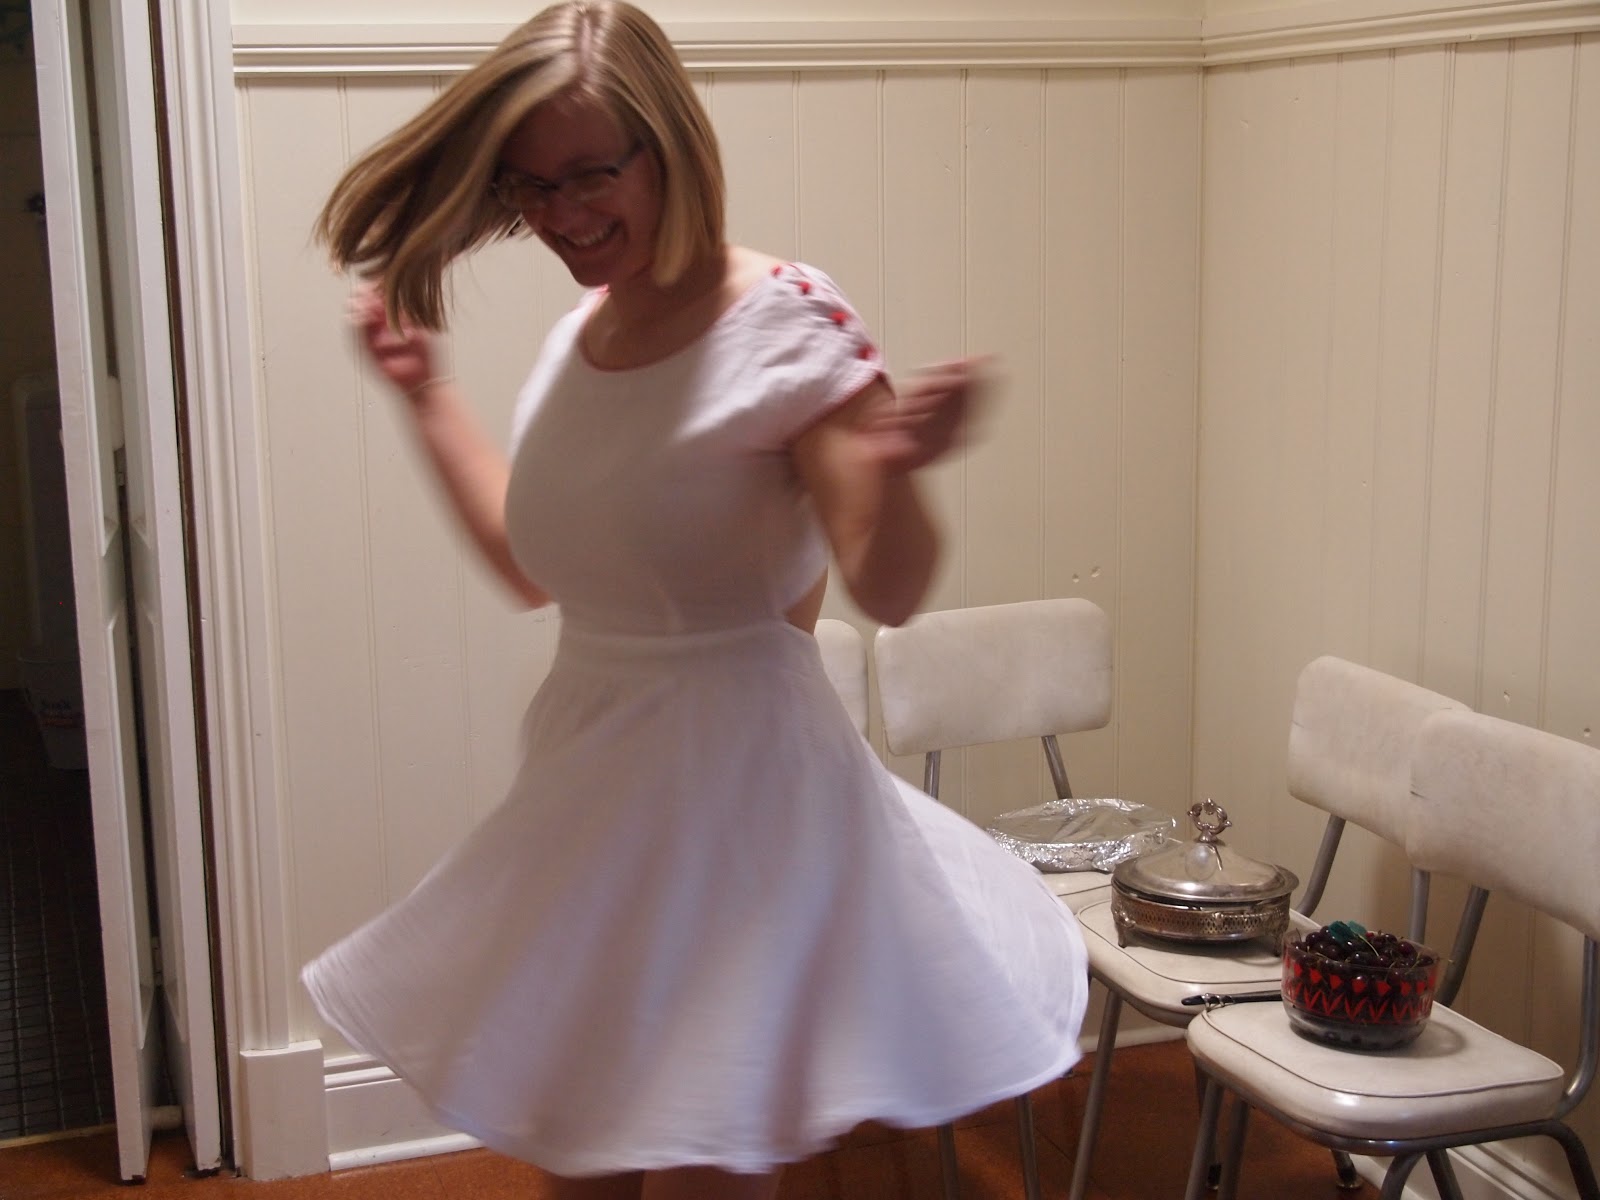
1.the annual family christmas photo. 2. potatoes- the way my dad taught me. 3.fresh cherries. 4. freshly baked loaf. 5. set up, ready to go. 6. the spread. 7. christmas bunting in use. 8. Santa Maisy (her little outfit came from cheap as chips last year) .9. banner .10.gingerbread presents .11. dancing away to the best christmas playlist.


Friday, 21 December 2012

Day 9/13:Ribbon tree.

My parents brought this little tree up to ours when they visited and there is nothing like a real tree. I already have the regular old plastic tree set up in the lounge room with all our decorations on it but since we're having plenty of visitors round for christmas day lunch, I thought I'd set up the real one in the dining room. The angel was a gift from one of my students and the shephards are part of a cute full knitted nativity that Mum got me.
To decorate the tree I raided my ribbon stash and found any green, red or white ribbons that were a bit too short for using when wrapping. And there you have it; a ribbon tree.

I just love the smell of fresh pine in the house.
Lisa x
P.S I'm linking up with

Wednesday, 19 December 2012

Days inbetween4-8/13: Presents made with love.


So I admit, I just got too excited about my new kitchen table and a special wall project that I will reveal soon. But isn't that what christmas is all about, hospitality, and I was just finishing off a few rooms before the guests arrive :)
There's just something extra special about receiving a gift that was made with love. Whether it be as simple as a homemade jar of jam or a bit more time consuming, like making them a stocking; there's nothing like a  good old handmade gift.
I've finished work for the year now and thought I'd help mum out and make some gift baskets. Mum and I made a whole bunch for family friends in Adelaide but seem to have missed taking photos of the final products... I really need to stop getting too into my projects and take the time to photograph.
Below shows what we included though:
 We reused gift baskets that I had lying around and put paper doilies in the bottom. Then we included some more homemade apricot jam but jazzed it up a bit by tying ribbon around the jars and gluing mini christmas mittens to the top( some leftover mittens from my bunting projects). I then put some homemade potpourri in little bags and attached a christmas decoration. Finally I filled some knitted christmas puddings with chocolates. Depending on the size of the basket, each basket had some potpourri, jam or christmas puddings.
We made a whole bunch for Mum's friends and our extended family and finished them off by wrapping the baskets in clear cellophane and tying with a ribbon.
I hope they all like their 'made with love' christmas baskets.
What do you like to include in christmas baskets?
Lisa x

Friday, 14 December 2012

Day 3/13- cooking christmas goodies.

Today I thought I'd share a few tasty christmas treats that make my heart sing!
The first is homemade ferrero rocher which is absolutely amazing- I had to try really hard to not eat it all straight away as I knew what was in it.
Anyway the recipe for these delightful mouthfuls can be found here.


The other recipe I go mad over at christmas time is honey biscuits. I got this recipe from a parent in my class and it's so easy and people seem to love it.
 This recipe will make approximately 30 biscuits.
you need :
125g butter, room temp chopped
1/2 cup caster sugar
1 egg
2 cups plain flour
1 teaspoon bi-carb soda
1/4 cup honey
how to:
preheat the oven to 180. line trays with baking paper.
step 1:
in a large bowl, using electric beaters, beat together butter and sugar for 2-3 mins until creamy. add egg, beat well. fold in combined sifted flour and bi-carb soda.
step 2: 
heat honey in the microwave for 20 seconds. stir in to dough. mix well. cover in plastic wrap and put in the fridge for at least 30 mins. knead gently on a lightly floured surface. roll out between 2 sheets of baking paper until about 5 mm thick.
step 3:
using cookie cutters, cut out shapes. place on prepared trays. bake for 10-15 mins until they are a nice golden brown colour. allow to cool on trays and then decorate with icing.
these cookies are my favourite. tip: chilling the dough for 30 mins makes it much easier to handle. this mixture freezes very well and make lovely inexpensive gifts.  
 
 These little scottie dogs kind of match maisy's christmas stocking too :)
Happy baking, Lisa x
 

Thursday, 13 December 2012

Day 2/13: brown paper goodness

I think there is something special about a beautifully wrapped present. Here's a little story to show how much I 'love' wrapping paper- for my fifth birthday my grandpa built me a little clothesline to hang my dolls clothes on, but all I wanted was wrapping paper to hang on the line. I would spend hours neatly hanging my paper and all my aunty gifted me wrapping paper for my birthday... haha, I was a little bit of a 'special' child.
 
Anyway back to my current love of wrapping things: I always feel a bit hesitant to unwrap presents and mess up the prettiness but am very hopeful that something lovely will also be inside.
For as long as I can remember I've been wrapping presents with the nicest christmas paper I could find. This year I decided to stretch myself a little and wrap all my presents using brown paper and all the pretty ribbons, bows and bits and pieces that filled my craft box. I also went a bit crazy with christmas sticky tape and such.
Brown paper = my new wrapping paper love.
Have you got any tricks for wrapping presents nicely?
Lisa x

Wednesday, 12 December 2012

13 days of christmas crafts- DIY stocking.

It's only 13 days until christmas so for the next 13 days expect your news feed to be filled with christmas crafts.
Day 1: DIY stocking
Last year I wouldn't even have attempted sewing anything but with new found confidence from previous sewing attempts I decided to make a christmas stocking.
All you need to make this beauty is 
white material
red material
white felt
red cotton and thread
a sewing machine
pretty patterned red material
scissors
ribbon

I traced around an old stocking to get the right shape and then cut out one piece of white material , one piece of felt material and one piece of patterned red material in the shape of a stocking. 
I then cut out two red hearts. To get the perfect shape I folded a piece of paper in half and cut half a heart shape. Then when I opened it both sides were the same. I pinned the paper to the red material and cut out the shapes.
I hand sewed the red hearts on using red thread and I sewed through the white material and white felt ( the reason I didn't just have white material was because the white material was very thin and could do with extra padding. 
Then I turned the white heart material and red paterned material to face each other. I sewed down the seam and then across the top in a straight line. Once the top was complete I then sewed round the sides and turned it inside out. I was left with my cute stocking which I hand sewed a ribbon to so it could hang nicely.
back view
* I wish I'd taken a few more photos during the making process but I got a little bit too excited and caught up in sewing.
Since this first attempt was so cute, I couldn't help but get a bit stocking excited and whipped up a quick doggy inspired stocking for maisy. I use gingham material and cut up this adorable dog material that I thrifted a few months back. The dogs and heart were all hand sewn on and I still need to attach a ribbon before this stocking is officially finished.
 I hope you're having as much fun as I am getting into christmas crafts.
 Lisa x
P.S I'm linking up with:

Thursday, 29 November 2012

Some festive cheer...

I'm starting to feel a bit festive as the count down to the end of the school year has begun. Christmas is such a fun time for craft addicts like me ( without forgetting the true meaning of Christmas of course). I decided to kick start the christmas decorating with some christmas bunting over the mantle piece.
Lots of red and green material
Regular scissors
Pinking shears
Bias binding
Pins
A piece of paper cut to the size you want
A sewing machine.
To begin with I made the triangles by pinning the paper triangle onto the material. Then I cut around the triangle using regular scissors. Once cut I then cut the two side edges using pinking shears so they wouldn't fray.

You should end up with something that looks like this. Then I made 7 different triangles as this was the length of my mantle piece. 
I sewed them together using bias binding and there I had it, some pretty christmas bunting ready to hang!

I used thumb tacks to hang it in place and added a few little silver bows for that extra special christmas touch...aw, doesn't it look all festive and pretty?


Then, because I am simply a massive fan of vases filled with things, I  put some red and silver baubles in a vase for an extra Christmas touch.
Have you gotten into the christmas crafts yet?
Lisa x