Showing posts with label plates. Show all posts

Tuesday, 12 November 2013

Home? Crafts on the move.

I am living between the city and country at the moment and this makes it quite hard to get any DIY projects done as I only have 1 and a half  days and 2 nights at my house with my precious husband. For the rest of the week I am living with some friends in the country and working. However I love blogging and can't leave this blog post free for the next 5 weeks so I will be sharing some crafts and ideas that are a little smaller in size...after all I've been living out of a suitcase for 7 weeks already and there's only so much you can cram in there!

One small craft I have been able to test over the last few weeks is using glass and porcelain markers to decorate plates and cups. This craft is great as you end up with good cute products using only a few supplies. I bought some markers from clever patch and then thrifted a bunch of white plates and mugs for a few dollars.
I used pinterest to get some inspiration and then went for it. My final products are quite restrained but now I've had a go, I'm feeling a bit more confident to just go crazy and create a super colourful, bright plate.


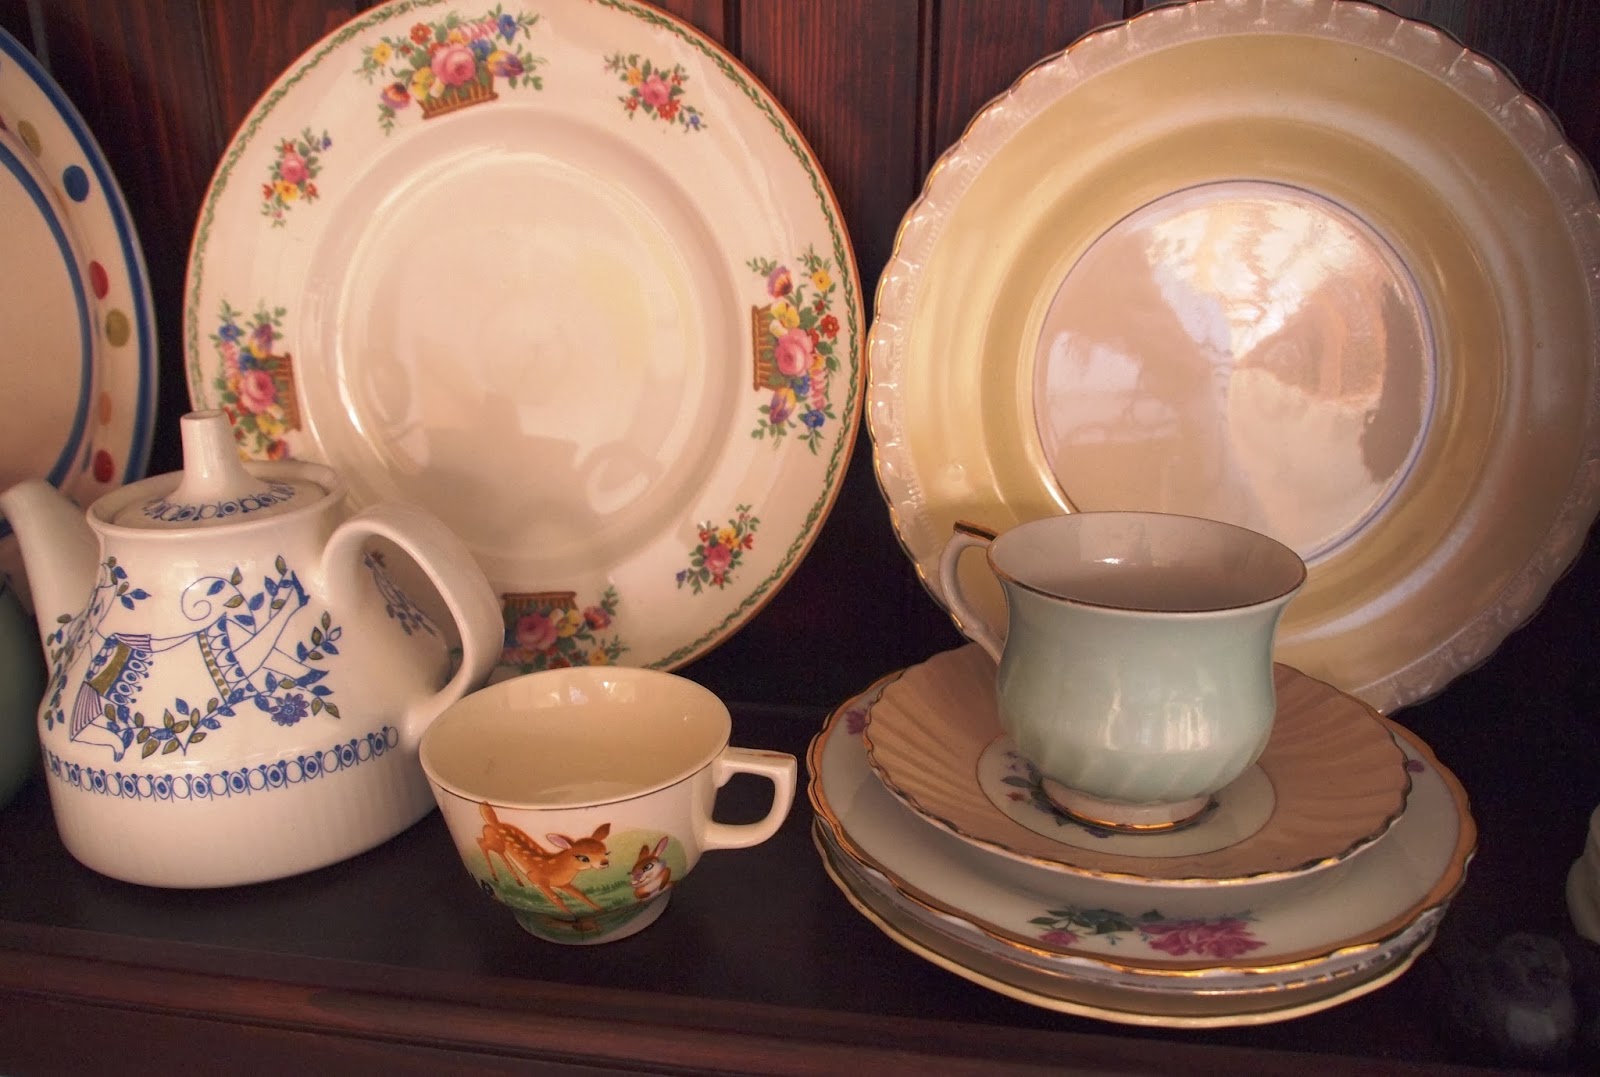
 I love having them on my display shelf along with lots of other thrifted goodies, and speaking of thrifted goodness, check out the cute plates and teacup I thrifted at a recent garage sale. I'm all for eating off beautiful mis-matched plates!

 As far as wear and tear go with these markers, I've already washed them plenty of times and they are fine but if you want to preserve the nice bright colours, I'd suggest hand washing over the dishwasher.
Lisa x

Thursday, 17 January 2013

Crafting- Malaysian style.

On our recent holiday I was lucky enough to see some examples of local Malaysian arts and crafts that I thought I'd share. They're a bit different to my everyday crafts and I love experimenting with new materials.

Batik painting
Now this is not the first time we have been to Malaysia and not my first experience with Batik painting but my first time visiting a Batik factory and seeing the whole amazing process from start to finish. The whole process is very labour intensive and produces some beautiful results.


Basically the print is stamped on in wax or, on some occasions, hand drawn. Then each piece is hand painted ensuring none of the paint spreads into the wrong area. The people that paint it have some amazing skills.
Husband and I actually had a go at our own painting on our honeymoon. We choose a wax painting from a selection of options and used paints provided to fill in the gaps. Then my kind mother in law got it framed for me as a birthday present.

It's definitely not as neat as they do it, but we love it and it's a special reminder of a very special holiday.

Pewter designs
We went to a pewter factor and saw some fabulous pewter work. We also got to attend 'the school of hard knocks' and create our own pewter bowl. We started with a pewter circle and through a lot of hitting in a specially designed bowl and using a hammer like tool we banged out our own pewter bowl (It was actually way more labour intensive than I first thought it would be and I was knocking away for a good 20 minutes- husband lovingly took over a few times too when my arm was getting sore).
having a hard hit
My completed bowl with a certificate as proof.
The bowl is perfect for holding all my hair supplies and looks cute too near the lovely bunny ring holder that husband gifted me for christmas.

Thursday, 19 July 2012

Suitcase plate rack.

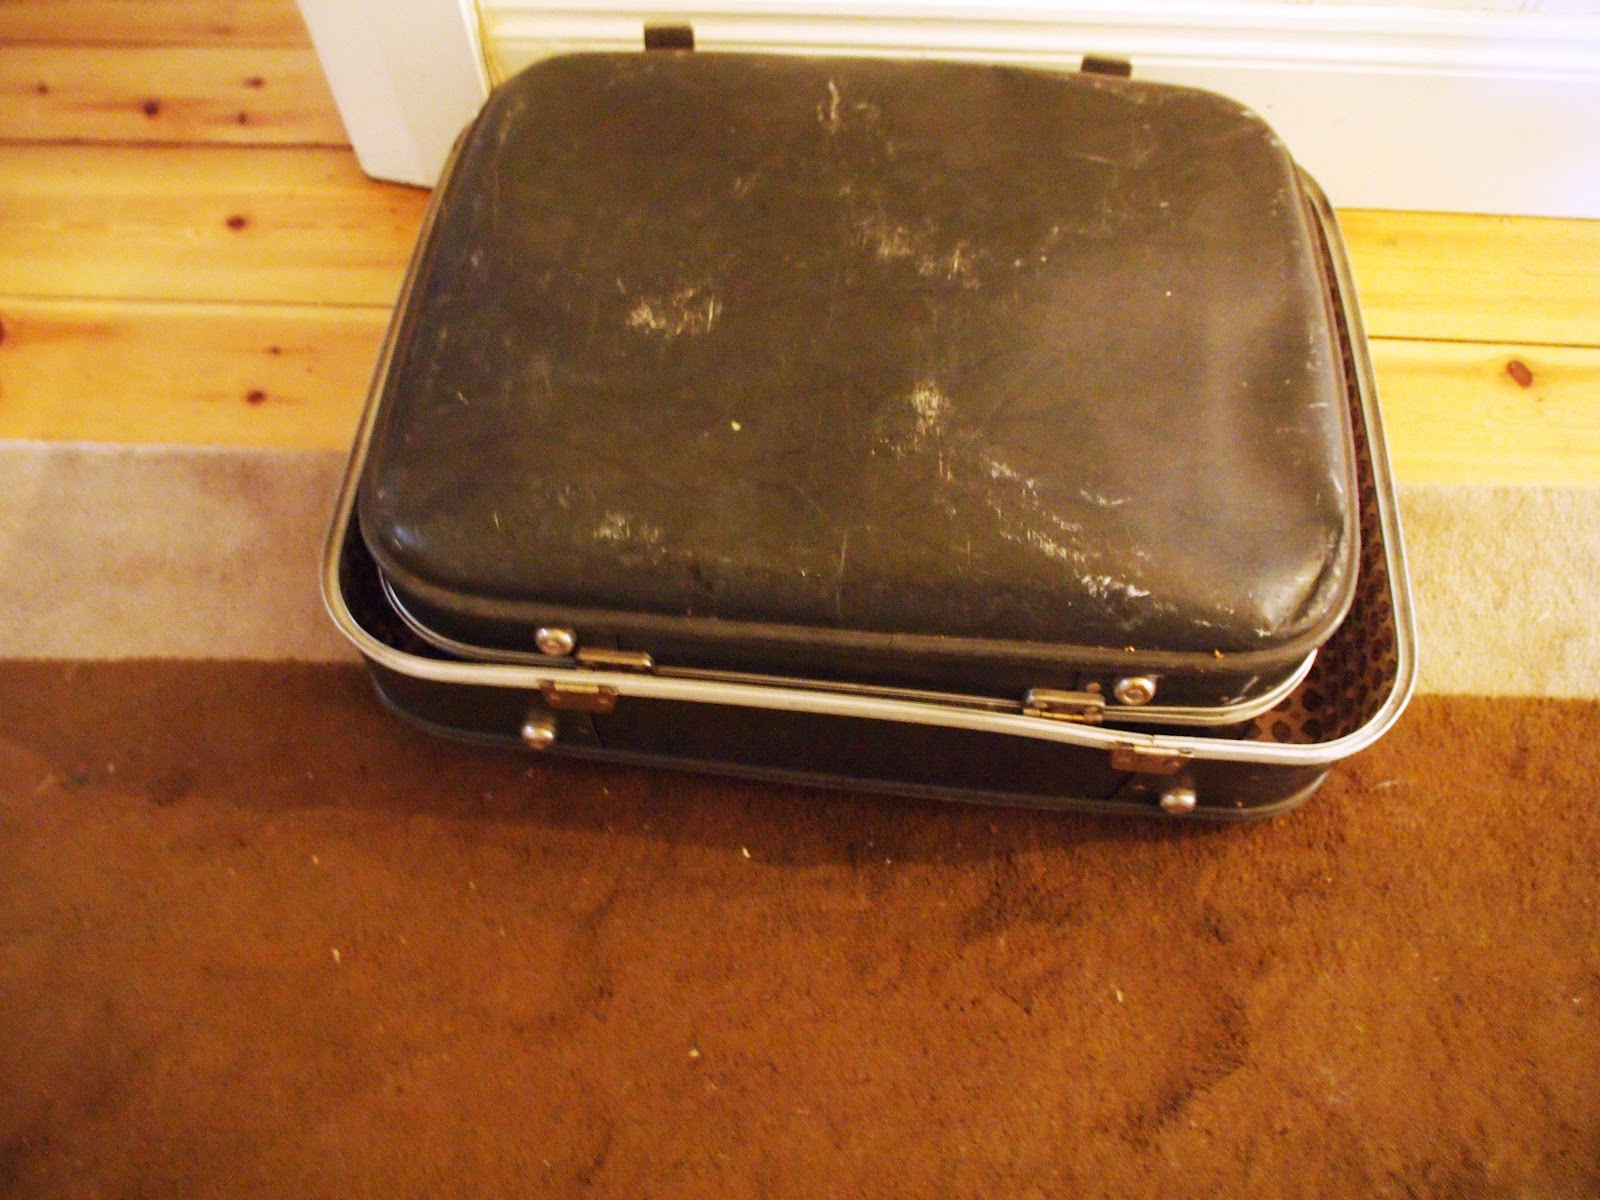
Well one of the halves of the larger suitcase it looking mighty cute now on my wall as a plate rack.
When my favourite handy man (aka Dad) was up for the weekend we decided to get a bit creative together. I had always wanted a pretty plate rack and we decided to dream big and turn half a suitcase into a plate rack.  * This project takes quite a lot of woodworking skills and I probably wouldn't have been able to create such a successful produce without dad's skills.
You need:
The top half of an old suitcase with pretty lining
Flat headed nails
Woodworking glue
A coping saw
How to:
Cut plywood to size using a coping saw ( we measured the size first using cardboard and then traced the cardboard outline onto the plywood)- you need to cut out enough to make one shelf and one piece to be the plate holder.
Attach shelves to inside of suitcase using woodworking glue and nails (flat headed nails) to keep it all in place. The shelves needs to be attached to the suitcase inside.
Create three circular pieces of wood using the coping saw to use as mounting blocks.
Attach suitcase to the wall using the three pieces of circular wood and large headed flat screws (you may need to use wall plugs if you're going into plasterboard.
Fill with some cute plates and cups.
Then sit back and stare and your very cute creation.

You never know what you'll end up with.
I love old suitcases but I just bought them on a whim and am so pleased with the end result.
Lisa x