Showing posts with label kitchen. Show all posts

Thursday, 8 May 2014

Swoon worthy bar stools.

Mmm, finally some more prettiness in the kitchen.  We were excited to start a phase 1 makeover of the kitchen area and when the walls and shelf were painted, it was very clear that the orange and yellow bar stools needed some love and colour change- orange and yellow really didn't work. The photo below shows the chairs originally in the kitchen (before the paint changes).
These chairs were made by an Australian designer and have been living in my parents shed for the past 20 years (except the yellow covered chair which I reupholstered previously to use in our country house when using my art eisle). In fact these chairs were originally left behind by the old owners of my parents house when they sold it to them. They were in pretty good condition as they had not had a lot of use.
As you can see these (well all three but one orange one is missing from the photo) are some funky chairs. I love their style and their height and comfort is perfect too. There is no way I was going to paint them so the easiest way to change them was to reupholster the seats with some white vinyl. From spotlight I got enough for the three chairs for $17 which is worth it to give these chairs some new life. The range at spotlight only had plain colours and white seemed like the best choice for a white painted kitchen. I also prefer to upholster most items in neutral fabrics as then they go with everything and don't age. While bright orange may have been all the rage once upon a time, they were looking too dated in the kitchen. My theory when tacking expensive to renovate spaces, like kitchens and bathrooms- keep it neutral and add accessories for the splash of colour. Now back to the chair process...
When we (Grandpa and I) got underneath the original vinyl we were pleased to find that the old school foam underneath was still in great condition and we could reuse it which would save us a bit as foam is always the most expensive part of reupholstering anything. I think the foam was in okay condition as the chairs haven't really been used much for the last 20 years.
After removing the original vinyl, we cut the white vinyl to size and carefully attached it to the chairs, using the original base fabric as well to keep down costs. The chairs were given a quick coat of estapol and I am blown away with how excellent they look. They really are now exactly what I wanted for the kitchen and while white was a safe choice, it works well and pops against the existing bench.


Another old item upcycled and just right for our house now! Home renovation on a tight budget is working our better than I thought, especially as I am blessed with finding free bench seats and some handy help. Let's hope this upcycling obsession of mine continues to help me find and make some more special items for the house. Will I ever be able say no to old furniture with potential when upcycling is so fun and successful? :)
Lisa x


Tuesday, 22 April 2014

White kitchen shelves.

We are in full swing in our house trying to get to as many rooms as possible painted before the bubs arrived. There's still over 2 months but high on the list is the kitchen/lounge area and main bedroom. We can always paint the craft room, guest room and library later on but these rooms are used so much and really need some painting. Our kitchen is pretty average. It's not so awful that it needed to be gutted but it wasn't really my style. We also bought a kitchen dresser as we needed more storage. The kitchen layout actually functions well, especially as the kitchen, lounge and dining room as all one very large room. When we moved in we also installed a dishwasher, a knife holder and removed a hanging wooden shelf above the bar.
However for the last four months we haven't added any paint to the walls (as I add that up I'm like wow have we been here four months already!) and I just felt that some white might brighten the kitchen up for the time being and make it feel a little fresher and cleaner.

Before. In this photo husband is removing the final part of a wooden bar shelf.

Time and money means that we aren't really able to tackle other things we'd like to do in the kitchen but they will happen over time once we save a bit.
-We like the existing design but would like to extend the kitchen island.
-New grey, wooden or white benchtops. 
-A new stove
-Paint the cupboards (white or possibility grey)
-Add some subway tiles.
-Replace existing fans with something a bit more modern.

Back to the shelves. I needed to remove them to paint it was too awkward painting them while they were up. Once the shelves had been removed the walls were given an undercoat and two coats of antique white USA paint....goodbye peachy walls.
The shelves were painted outside with two coats of an aqua enamel (so they shouldn't chip easily before being placed back. Once they were up, the whole kitchen just looked more open and fresh.
It was time to replace some of the items. While in the above photo you can see many brightly coloured utensils and cooking items, I decided to restrict my colour scheme to yellow, black and white and see how this would work in the space. I could have chosen any other colour apart from yellow but it's just such a bright happy colour and I own a bit of yellow kitchen gear. The other kitchen items were just packed away into the cupboards and no longer on display.


We also moved the kitchen dresser (pictured next to the fridge in the before photo) to another wall. I kept the same white, black, yellow colour scheme going with the dresser and have decided to turn the area next to the fridge into a little office nook (more info to come). I love having the restricted colour palette for display items but may need to thrift/buy a few more items to finish off the shelves and give them a slightly fuller look. There are a few other small inexpensive changes happening in the kitchen too which I'll share soon which should make the room even nicer as we save for a one day phase 2 makeover.
Now just to wait a few more hours for my slow cooker lamb stew to be ready :)
Lisa x


Tuesday, 12 November 2013

Home? Crafts on the move.

I am living between the city and country at the moment and this makes it quite hard to get any DIY projects done as I only have 1 and a half  days and 2 nights at my house with my precious husband. For the rest of the week I am living with some friends in the country and working. However I love blogging and can't leave this blog post free for the next 5 weeks so I will be sharing some crafts and ideas that are a little smaller in size...after all I've been living out of a suitcase for 7 weeks already and there's only so much you can cram in there!

One small craft I have been able to test over the last few weeks is using glass and porcelain markers to decorate plates and cups. This craft is great as you end up with good cute products using only a few supplies. I bought some markers from clever patch and then thrifted a bunch of white plates and mugs for a few dollars.
I used pinterest to get some inspiration and then went for it. My final products are quite restrained but now I've had a go, I'm feeling a bit more confident to just go crazy and create a super colourful, bright plate.


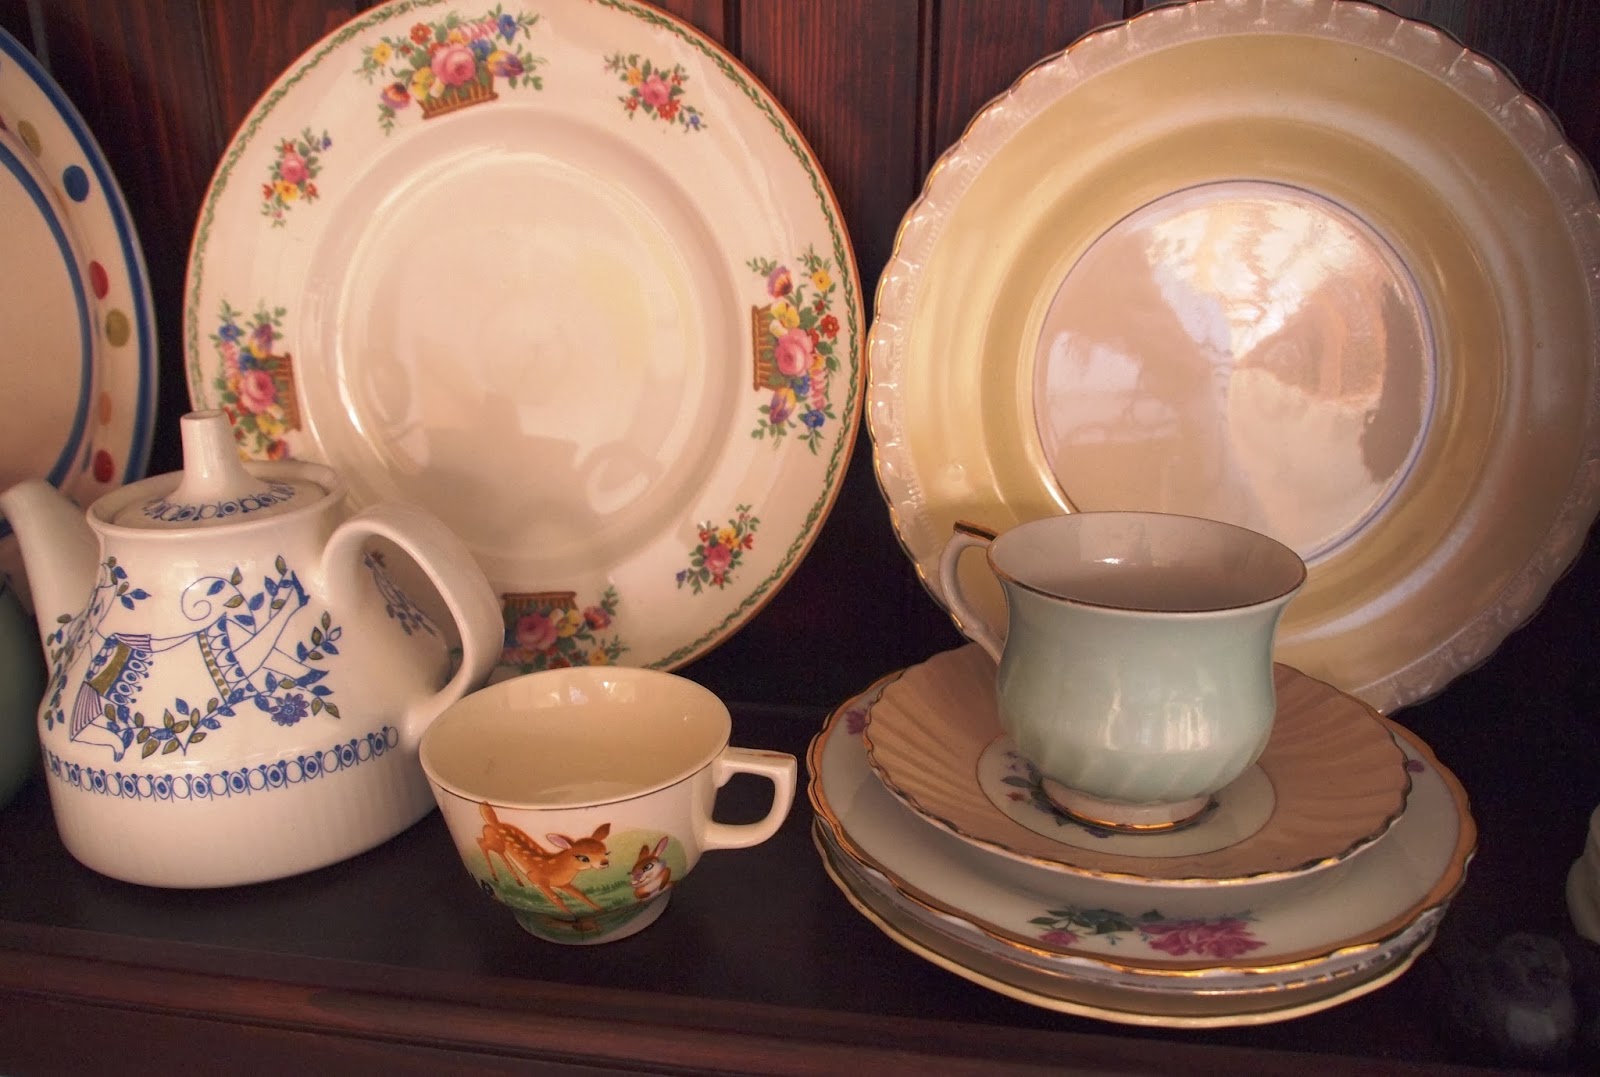
 I love having them on my display shelf along with lots of other thrifted goodies, and speaking of thrifted goodness, check out the cute plates and teacup I thrifted at a recent garage sale. I'm all for eating off beautiful mis-matched plates!


 As far as wear and tear go with these markers, I've already washed them plenty of times and they are fine but if you want to preserve the nice bright colours, I'd suggest hand washing over the dishwasher.
Lisa x

Sunday, 15 September 2013

Setting up the house.


The time is fast approaching. In less than a week all our possessions will be in our city house. Everything is boxed up except for a few basic essentials. The shelf (above) is in our new kitchen... I'm thinking a retro kitchen and pretty excited to have all my thrifted treasures on display. In fact apart from the book and campbell soup cans, everything on display was thrifted from local markets/garage sales. I used a special tupperware can opener to open the cans and use the soup inside. Now I can still put the lid back on the cans, I just am not sure what to store in them yet...but the packaging is just too cute to throw out.
We've also finished painting the first space... the hallway is no longer salmon pink but silver dollar with a white ceiling , marble corners (for now, I'm still undecided whether I like them) and some cray grey edging. I haven't had a chance yet to take a complete photo of the finished room as I want to style it first but the change is amazing- so much better- and I included some photographic proof of me rocking my painting clothes- though the extremely tired look is evident in my eyes!- too much packing, working and resume writing. Only two more salmon pink rooms to go and then a whole lotta apricot rooms :-)
Enjoy the weekend- it's a beautiful sunny day here.
Lisa x

Wednesday, 24 April 2013

Some thrifted pantry storage.

I spent the weekend at a friends house and was in awe of her extremely organised pantry. As soon as a got back home I set out to make my pantry amazing too. I forgot to take a before photo as I just went for it and got a bit carried away but picture a messy pile of food items roughly put in different areas.
I already had quite a lot of plastic containers for storage and found some of the labels in a freebie pile at a garage sale. The other labels were 50c (on sale at cheap as chips) and although I'm not buying things from stores I do make the exception for necessary craft supplies (aka these labels). They aren't probably going to be permanent but I will contact them down and use them until I find the perfect ones. For now they look cute enough and help me know what's in each container. I thrifted the brightly coloured Tupperware containers a few years back that store the sugar, coconut and brown sugar. You can also see the jars where I spray painted the lids holding all kinds of foods.

We have a corner pantry which makes it a bit tricky trying to work out what to put in the corner so after trawling pinterest for a while I decided putting turn tables in the corner was the best idea. It just so happened I'd thrifted two handmade turntables for a few dollars almost a year ago and finally had the perfect use for them. All those tricky cans and sauce bottles now have a place.
Other thrifted items that I used to help organise my pantry were some thrifted spice racks. I love the little sparks of colour in my pantry that these items bring. I also thrifted a little basket for when I'm have a big day and need an easy packet meal.

I did a big shop to fill up my pantry some more and now I feel much more like cooking. In fact I might just go cook up something now...

Monday, 17 December 2012

Fixing up a 1950's chrome kitchen table.

source
This little retro kitchen makes my heart sing! It's so happy and cute and my dream kitchen would be something like the above picture.
Today the reality came just that little bit closer when I scored a cute table and 4 chairs for $50 from an estate auction.
It was in okay condition but the chrome shine was gone and there were lots of marks everywhere.
I am not the best at remembering to take before photos since I just get far too excited about new projects but this is what it looked like after a quick rub with some Brasso.
It was getting there but still not as shiny as I'd hoped for. The difference was quite noticeable.
We (handyman dad and I) decided to get out a drill with a polisher and give that a go and it was extremely successful.

We ended up going through 2 polishing pads to do the chrome edge but as you can see from the photos- the difference between the polisher and the Brasso was huge.
Once the edge was chromed we tried to bring up the colour in the table top by using timber wax polish.
As you can see it made the top darker and it also felt much shinier. The photo probably doesn't give the wax improvement much justice but it was considerably better.

And there you have it- my newly shined up kitchen setting in all her glory. I still have a long way to go with my retro kitchen plans but am so pleased to have found the centre piece.
And for whoever is interested, a breakdown of the costs:
$50 table and chairs from an estate auction
$8 timber wax polish
$10 Brasso
I already had the polisher connection for my drill but you can get a 4 pack for about $10.
I also used Jif which we had in the cupboard to clean the chairs a bit further.
Time taken: app 2 hours as polishing the edge with a tiny piece took a while and we needed a few trips to the store and tests to see what would work out.
So for $68 and 2 hours here's my beautiful new kitchen table- just in time for christmas entertaining.
Lisa x
P.s I'm linking up with

Monday, 8 October 2012

Kitchen jar display.

I have been collecting old jars for a while now and decided it was time to get creative and transform the jars into useable items. As you can tell from my last few posts, I've become a big fan of the bermuda blue, which also perfectly matches the kitchen bench.
You will need:
old jars
spray paint
white paint
a chopstick

How to:
First I spray painted the lids. I also choose to spray a few cans for extra storage.

When dry I used a chopstick dipped in white paint to create a polka dot pattern on the lids.
 Then they were ready for use to store all kinds of snack food.


I had finished and filled the jars with snacks. I had a go on a few of the jars creating chalk labels with chalkboard paint but I'm still deciding whether I leave the others as they are or go all out and make a lot of chalkboard labels. Any thoughts?
To make a label I simply created a rectangle shape using masking tape and paint inside- i found it's best to do two coats. When the paint dries remove the masking tape and you'll be left with a neat shaped label. You can them use chalk to write whatever you want on the labels and change when necessary.
I also spray painted up a few cans so even maisy's dog food area is looking blue.
I know you're thinking, a toothbrush? but poor maiso got an underbite and it needs a bit of extra care of her teeth.
It's getting a bit paint crazy over here!