Showing posts with label outdoors. Show all posts

Thursday, 27 March 2014

An outdoor horror story.

Home ownership often comes with lots of unexpected surprises and today I thought I'd share our little horror story about our overgrown green and leafy backyard full of furniture and pots.  We could tell that the fence and retaining wall were falling over when we bought the property and soon discovered that the tree and vines were pulling down the retaining wall and fence and vines were growing everywhere, including into the roof.  This was starting to lift up the roof and causing the fence to fall even more. Then the side brush fence was leaning on the house and there was an inaccessible shed and a small rainwater tank in the way. Near the plunge pool was a very large hot water heater that didn't work. However, most disturbing of all was the fact that there was a gas pipe going through the brush fence!!!
With all these scary facts, we realised that this meant we needed to take immediate action and sort out the backyard but stripping it back to its core and putting up a simple stable fence and retaining wall. Sounds easy enough right? Well this project has been going on since the start of January and was finally finished last week!
The elderly lady who sold us the property left behind all her old outdoor furniture, random statues and a whole lots of pots. To make a few extra dollars for the renovation bills we sold off most of these items except a few special bits and pieces that I thought could be used in future plans.
From these photos you can really see how the fence and retaining wall were collapsing, the small rainwater tank, the huge excess plant growth and the big fat heater.


Well what a crazy process this has been. Three large skips later we had cleared away the fence, pulled down all the extra plant growth and cleared over 40 tonnes of dirt. We also dug up a path of pavers and moved the gas pipe so it was no longer going through the fence.
It felt like the project dragged on for months as everytime we felt a little bit closer to finishing a section we'd run into another problem. We also had to live with no access to the garage for a few weeks. We blew our budget a bit but once the project was started, we knew it needed to be completed.
Progress.....


 The day the retaining wall was put in was a great day as it finally showed us some progress and now we have a finished fence and retaining wall.


Wooohooo! Now we have the basics sorted and a clean backyard space we can start to get creative and make it our special space. I have a lot of plans though a few of them will need us to save some more money before these can happen.

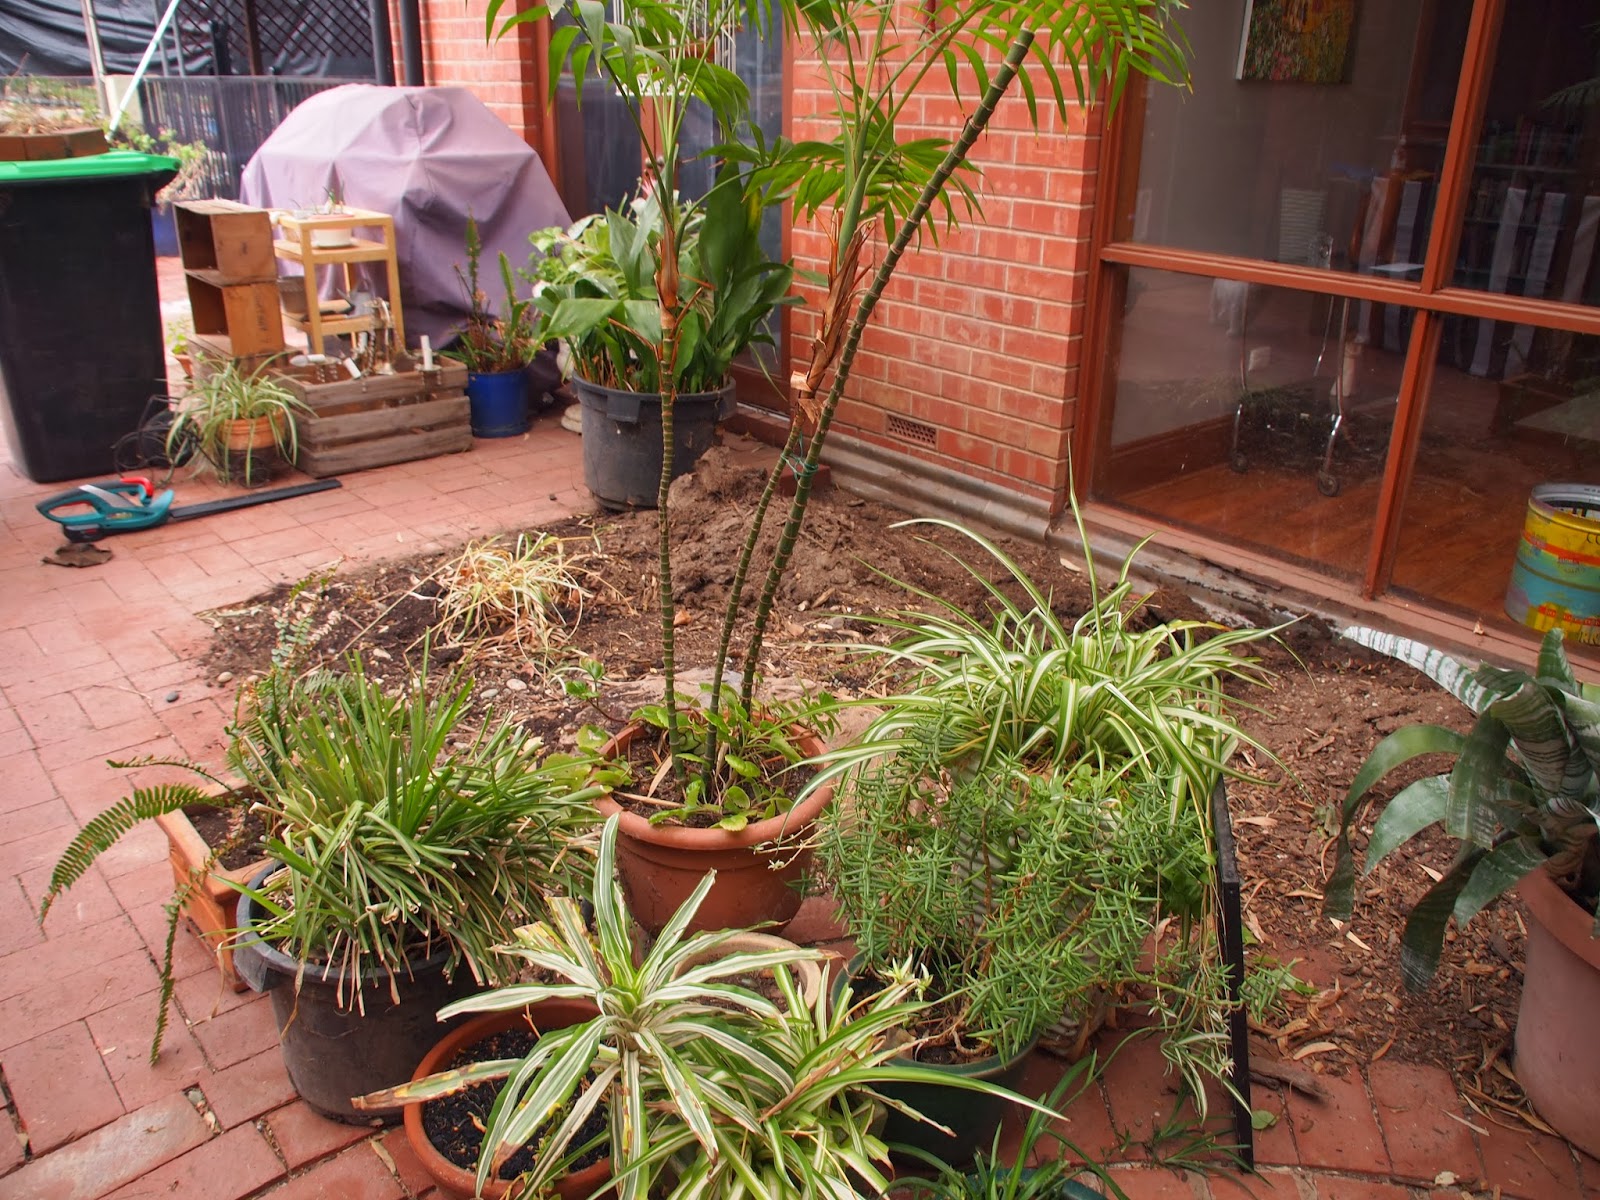
I purposely didn't plant or sell off this collection of pots and plants as they are going to make up the start of our new garden. I will probably sell the pots but plant the plants around the retaining wall. If you have any interesting ideas for what I could do please leave a comment or send an email. I'm a bit stuck as what I should really do.
And of course Maisy loves her new view too, although the pool fence does mean she doesn't currently have any access to the area :)
Lisa x

Tuesday, 18 February 2014

Phase 1: Planting some plants in the atrium.

The atrium is a central space in our house that you can see out to from all angles. It helps create really beautiful lighting but has been neglected since we moved in except for our 'new' outdoor furniture, some cute ways to display outdoor plants and making the atrium dog friendly.
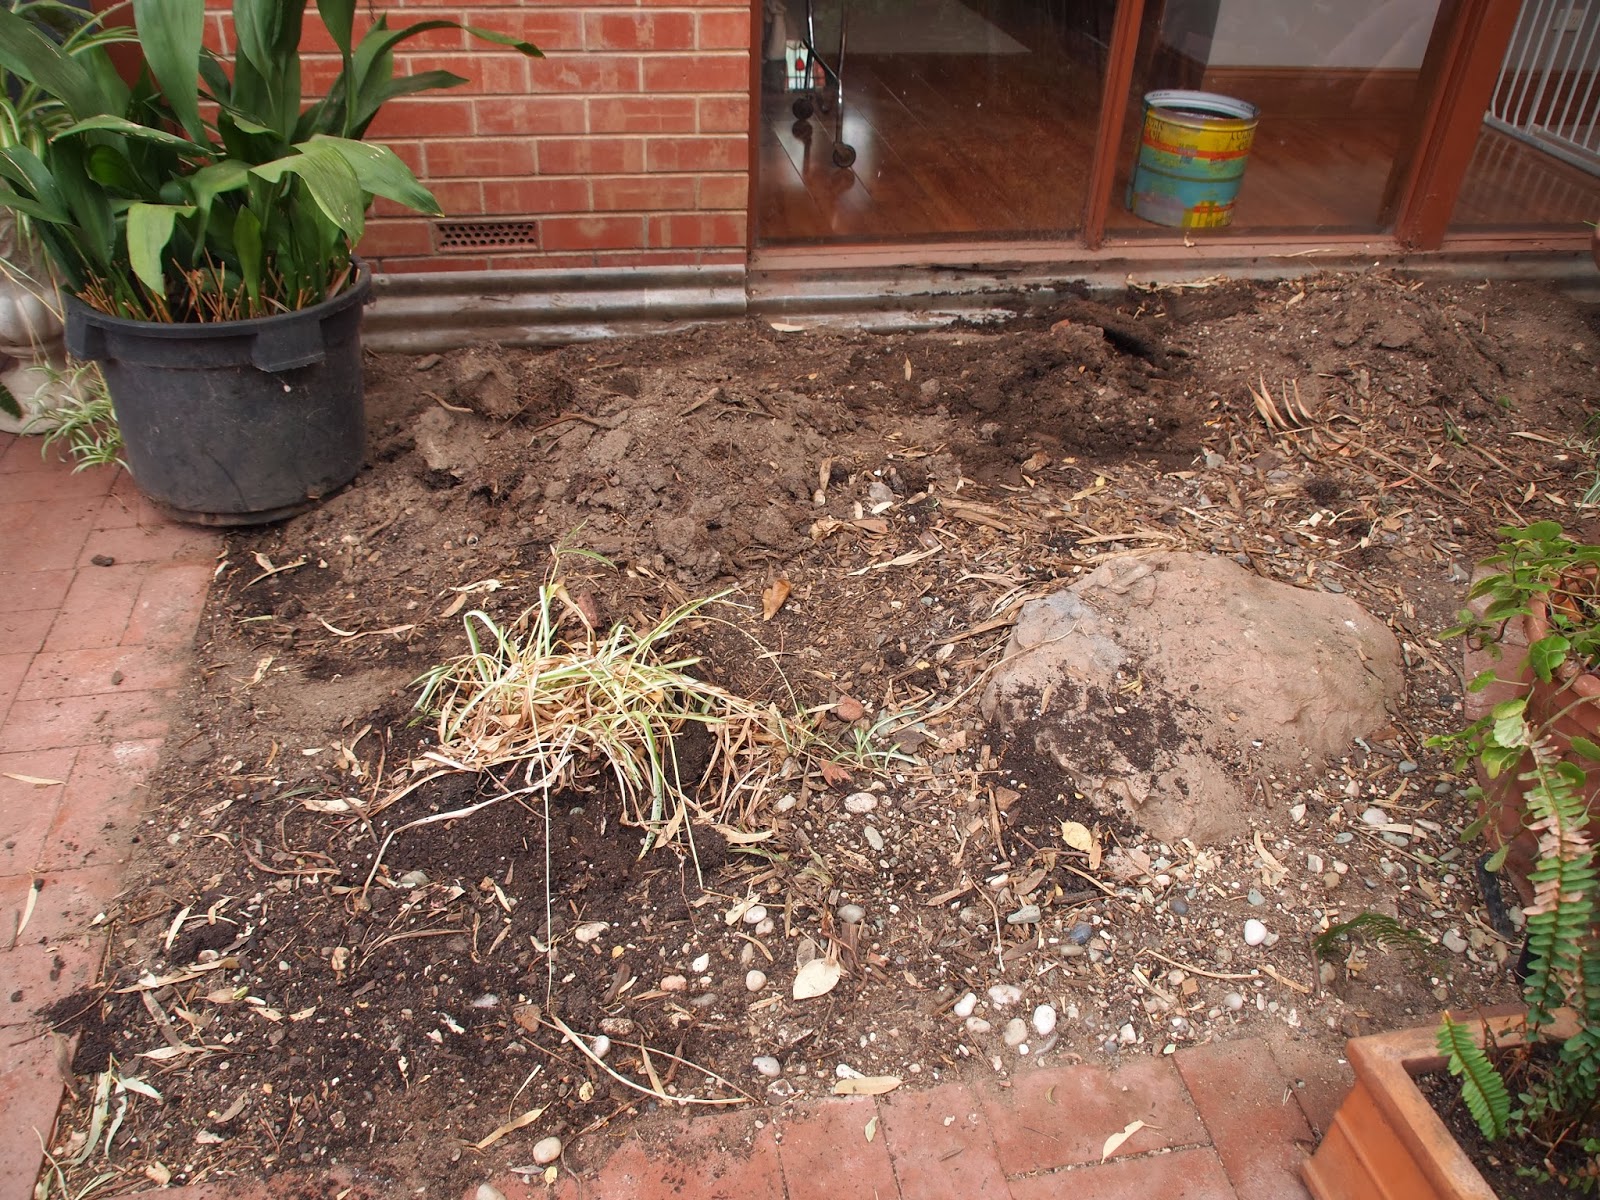
As you can see it was pretty much a mess of dirt and a whole bunch of pot plants. For a while now I'd being looking out the window dreaming of some plants in the ground and a whole lot less pots. On Saturday it was time to tackle the project. To begin with we leveled the dirt (which involved taking about 4 wheelbarrow loads of dirt) and made a layer of bricks along the edge(  as extra water protection even though the atrium was already lined with plastic). Then it came to the planting which was pretty easy. We choose to plant all the plants in the grown except the bamboo which we kept in a pot as we had no idea how big it could grow if not in the pot.
For now the plants all look a bit small but with some water they should hopefully grow and fill out the area a bit more. We also had to call a mate in to remove the large rock (in second picture) but it's much nicer without it. In fact when we bought the place, there were three large rocks but we'd already removed the other two.

There is still a long way to go but it's already looking so much neater and cleaner. If you're wondering where our striped chairs are hiding, they had to have a wash after a giant wind storm a few nights earlier.
The only grass we have is Maisy's little patch so I'm thinking of planting a patch of fake grass with a few pavers through it (the grass would be in front of the plants). I'm also thinking about some hanging plants and putting up the swinging chair in the corner. I'm going to try my luck at selling about 20 or so pots that were in the area and use this as my budget for phase 2 of the atrium makeover. Also if you're wondering about the random upside down pot, it's being used to stop us falling over some metal things that need to be cut away. That's also on the to do list :-) ooo and some outdoor fairy lights of course.
It's time to do some dreaming, planning and hopefully selling.
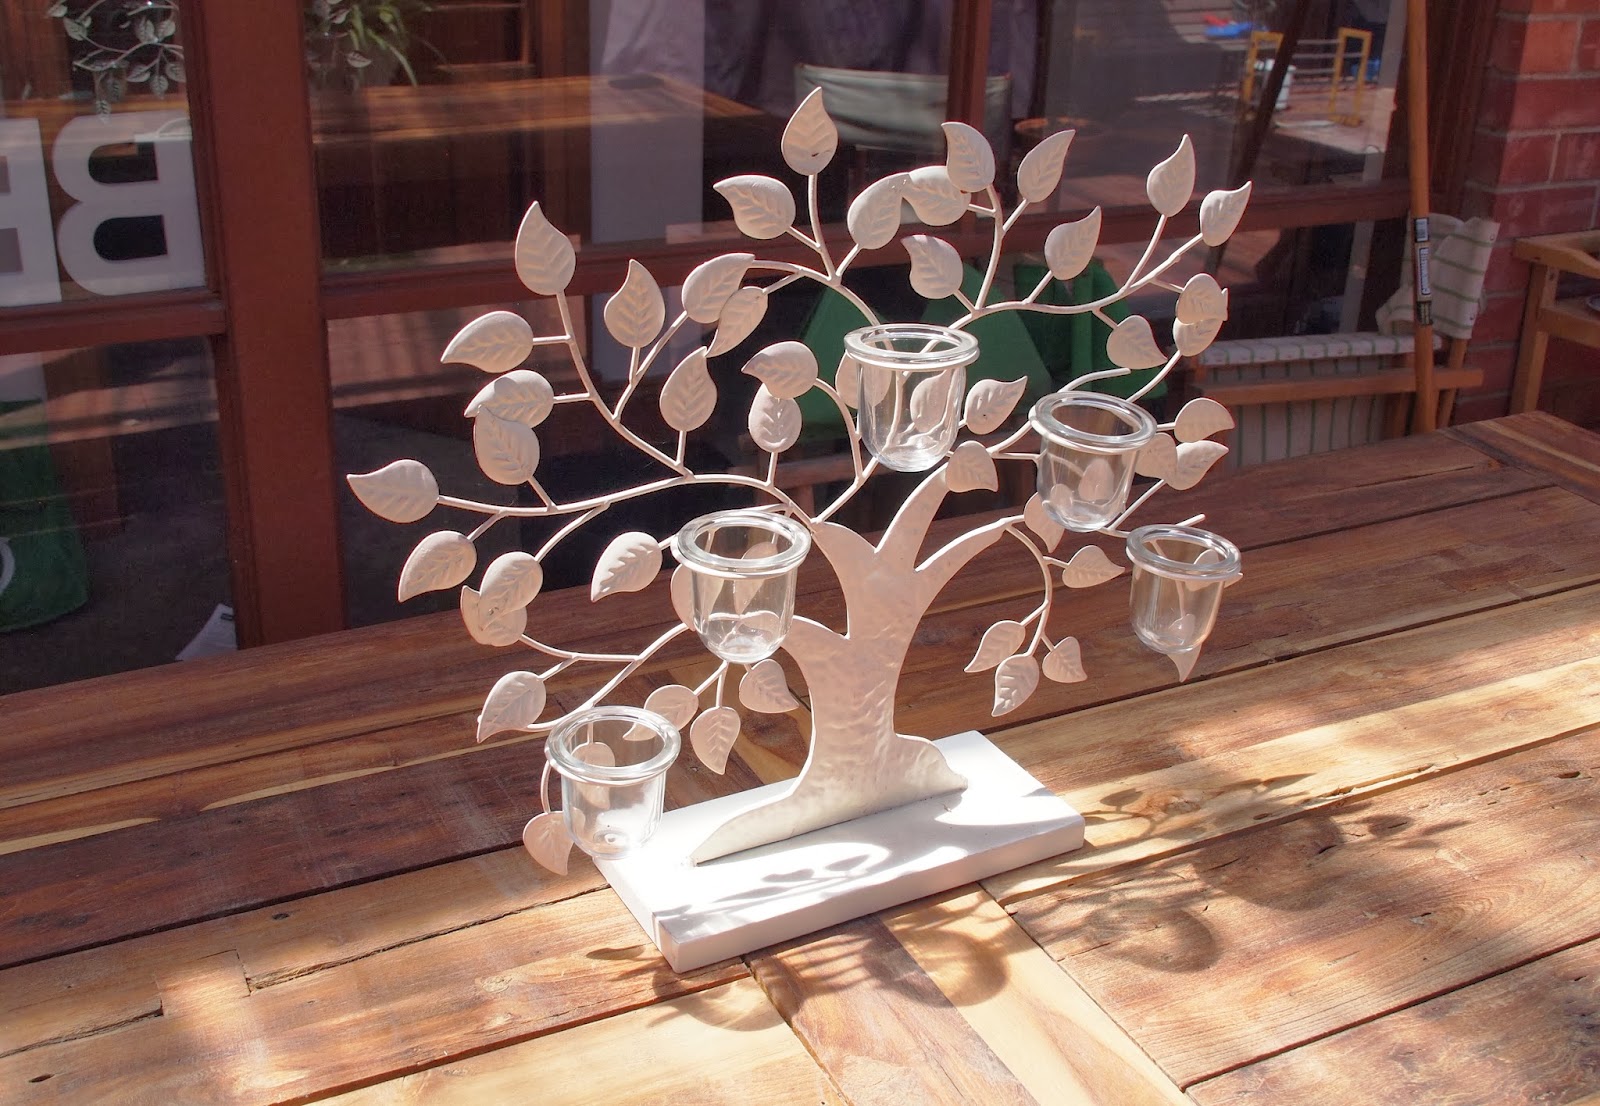
I just found this beautiful candle tree on hard rubbish on my way to the grocery store for the table so here's hoping that I find lots of thrifted beauties. Do you have any suggestions for the space?
Lisa x

Monday, 30 December 2013

Cheaper outdoor chairs.

For Christmas husband and I decided to just write each other thoughtful cards and get a combined present of an outdoor table. 
We found a beautiful recycled teak 8 seater for 1/2 price and immediately snapped it up. It was perfect and arrived the day before christmas. However there was a small issue- we didn't have any chairs!
I've been eyeing off some replica tolix chairs for $69 each but they weren't really in the budget.Then I found the solution with chairs just over $20 each. While Christmas shopping I spotted some adorable striped directors chair covers for 1/2 price (only $20 per cover) so I picked up 8. Then came the task of thrifting the chairs. Gumtree had 6 directors chairs advertised for $15 so I quickly bought them. They are all sturdy but don't look amazing; 1 is green, 2 are white, 1 is maroon and 2 are striped but with the covers you'd never know. Now I just need to keep my eye out in hard rubbish and on gumtree to snag two more.
For now I am so happy with the new outdoor setting and it looks so much better than the collection of mismatched bits and pieces in the atrium before! I just need to hang my swinging chair (which also has a matching black and white striped cushion) and work out the best layout of plants in the area.
Lisa x

Wednesday, 2 October 2013

Dog proofing.

It's been a bit of a challenge to make our new home fit for our little dog. After living in the country for her whole life, Maisy now had to get used to having a smaller space and no grass :(. It was time for some doggy DIY projects. It's so important for us that she is settled and feels at home in our new house so we had to fork out some money and do some DIY projects to see what could make her feel more comfortable in the new environment.
A fake grass patch
After looking around I found that most were a good two hundred or so dollars but eventually found one for $99.She is starting to use it more and more. It has a base that can be emptied on the bottom and can be hosed down too. Since we haven't decided exactly what to do with the atrium, it's the perfect short term solution.( I love the bench the old owners left behind too and got a new outdoor pillow for the hanging chair- which isn't hanging yet - thanks to a welcome to the neighbourhood voucher).

 A doggy door
Before
Our new house has a cat door but Maisy soon broke it after trying to squeeze herself through it too many times. It was hilarious to watch but definite proof that our dog needed her own door.  For $100 I'm sure she'll enjoy her new larger door. It actually ended up taking a good half a day to put in as the door might not look it but it weighed a tonne! Also the wood was very thick and a few jigsaw blades were broken in the process :( but with the help of Grandpa and Dad it was eventually completed.
A safety gate
We live only a few houses away from a busy main room so it was crucial to us that Maisy couldn't escape and run down the street whenever vistiors come over. I bought an extra wide perma safety gate and then a 10 cm extension for about $70 to make it fit across the hallway that connects to the front door. This is actually an extremely easy DIY project, I did it all myself in about 10 minutes so anyone could put up one of these safety gates. I always love a DIY project where I don't need to call in help! You can see the end product in the top left corner of the photo of the fake grass.

A happy dog makes for happy owners. Now, if only I could train her to use the fake grass patch all the time!
Lisa x

Monday, 29 October 2012

Garden lighting.

For a while now I've been looking out for a chandelier I could love and turn into something amazing. I always thought it would be an indoor light but now I am convinced an outdoor chandelier will be much more exciting!
In the freebie pile at a garage sale was the perfect base.
First off I rubbed it down with turps to make sure it was all clean.
I meant to buy primer but forgot to so I went straight for some cream rust free paint.
It already was a big difference.


Then I experimented with different ways of attaching tea cups. I was going to screw through the teacups to hold them in place but found that liquid nails worked well. I plan on putting citronella candles in the teacups to keep the mosquitoes away during bbqs etc.

The only challenge left is to work out where to hang it and hang it up.
I'm pretty happy with my quick and easy transformation made using things I already had and a can of rust free spray paint.
Happy thrifting!

Sunday, 22 July 2012

Salvaged outdoor area.


So this is my current project (ongoing). We have a large patio that is pretty much empty, except for the barbeque. I've been scouring garage sales for some perfect outdoor furniture and thought I'd share a few of  my outdoor garage sale finds I've had. I haven't put it all together yet but these are the pieces that I have to try and tie together and great a beautiful outdoor space. So here are my finds so far:

I was super pleased to find this little set at a local garage sale and when they delivered it and threw in oil too. I felt super blessed by the kindness of people- there is only so much I can squeeze in my little car.
This cute bamboo chair.

I picked up the little white table in the middle recently at this little town about 1/2 away where once a year 30 houses have garage sales at the same time.
 A little stripy hammock chair.
 A long stripy hammock.
 And this pretty little table (which almost perfectly matches my bench set) that needs a little bit of sanding but is in decent condition.
All this for $40.
Now to work out how I'm going to tie it all together!- I'll share with you soon what I get up to.
Any suggestions??
Happy thrifting- and I'm linking up with  her library adventures and apron thrift girl.
Lisa x