Showing posts with label lighting. Show all posts

Thursday, 24 April 2014

Small budget changes to the laundry.

I am pleased to show another room reveal today of some pleasing changes to our laundry. The existing laundry was a dirty and unappealing room. I know no matter how pretty my laundry becomes, it will always be just a laundry, but with a baby coming I will be washing a lot more, and it should be a pleasant place to be.With a very small budget to play with it wasn't possible to gut the laundry and get a new trough and cabinets but I tried to make the space more livable for the now. I guess you could call this makeover a stage one makeover as we save for a future makeover that will hopefully include adding an additional toilet to this room. Let's have a look back at what it looked like when we bought it. There were sunflower tiles, dirty flaking walls and a scratched worn blue trough.
Since we had a lot of taubmans sea bubble paint leftover from the bathroom and nursery, I decided to use it in the laundry too. It is such a calming, light, fresh colour that I could see it working well.
We began by removing the sunflower tiles (don't get me wrong, I like sunflowers but these just weren't working for me). Once they were removed it was clear that the wall needed a heck of a lot of patching and cleaning before it was ready to paint. In fact the whole laundry demanded a deep and through clean. Once painted the room was starting to look a lot better.
We then used caulk to fill in the gaps in the laundry bench and cut out a shelf in the underneath cabinet so the laundry had somewhere to store a washing hamper full of dirty clothes.


The blue trough looked terrible with the new walls so it was painted in two coats of enamel white paint and looks like a completely different trough.
The laundry was then ready for a little styling and I added a few thrifted green tins as well as painting my old peg bucket the same white colour as the trough ( it was originally a dark blue).
The ironing board was mounted on the laundry room door using a cheap hanger from mitre 10 and this is great for keeping it out of the way.
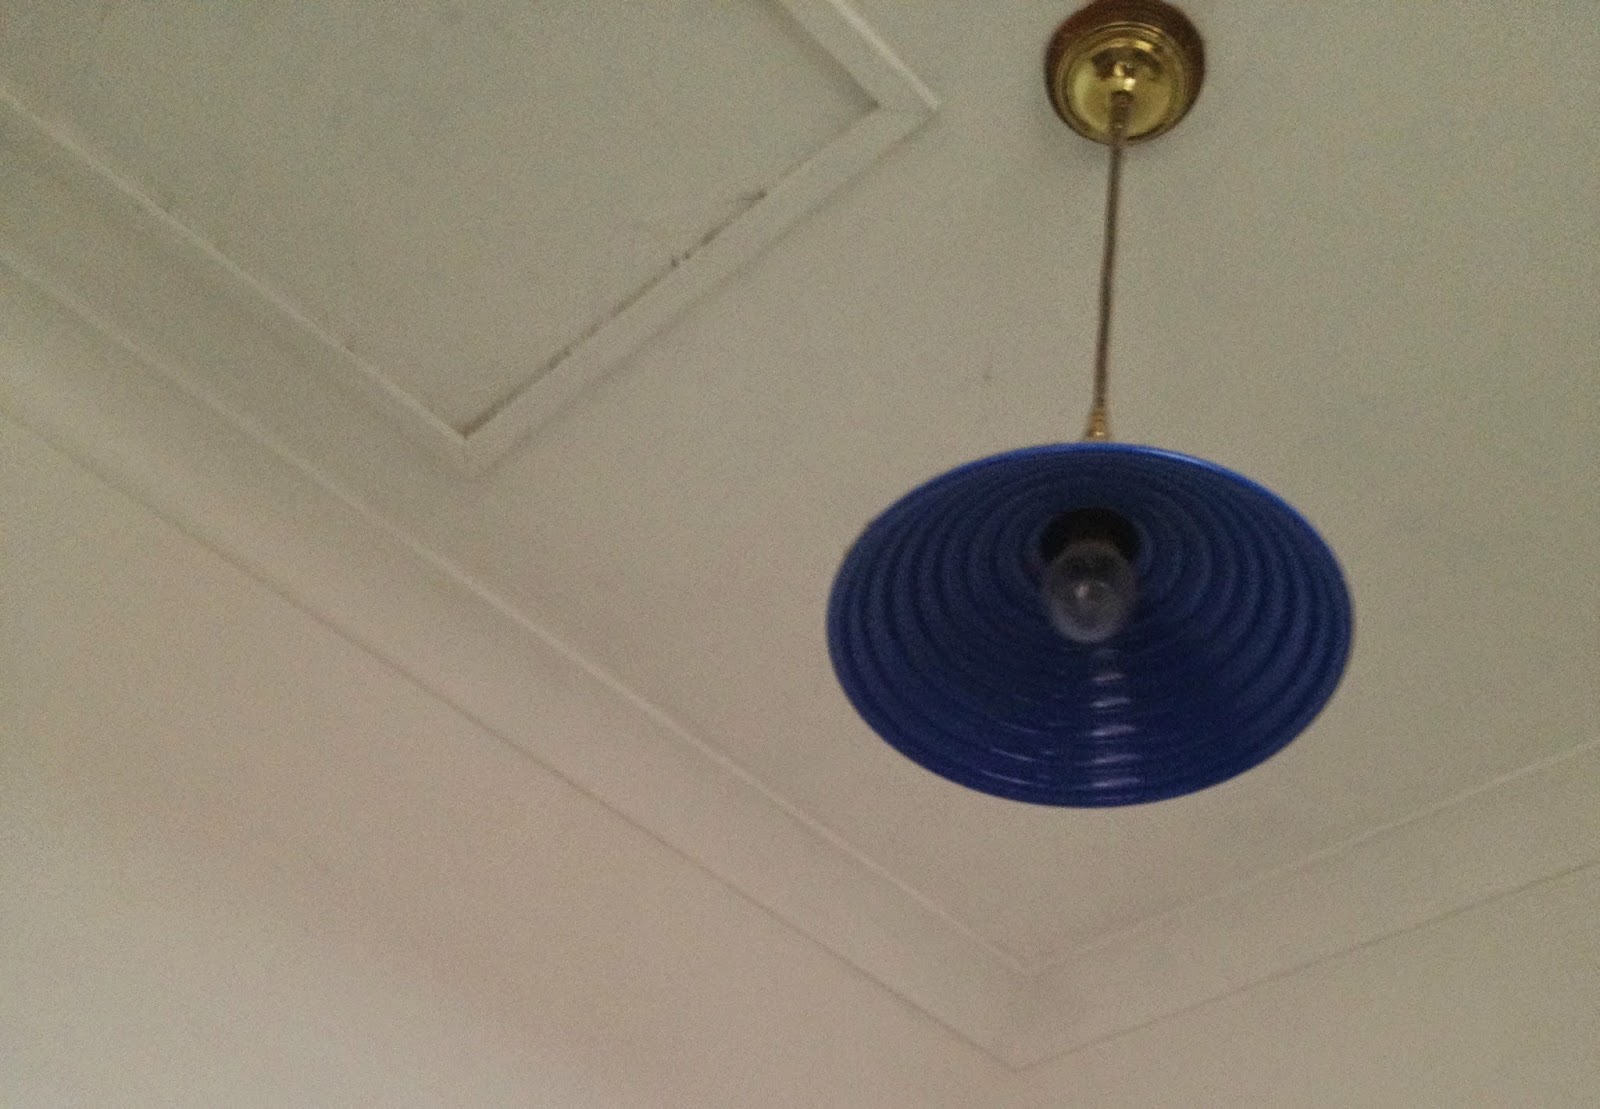
We also changed the lighting which greatly affects the feel of the room.  While the existing blue pennant was quite industrial and funky, the blue was really clashing with the newly painted seabubble walls. I bought a lampshade on sale and just love how the new lamp shade casts web like shadows all over the walls.
before
The final task I did was to sew a little curtain for the laundry cupboard so you can no longer see the clutter behind it. To make the curtain I purchased some green fabric (on 30% sale at spotlight). The space between the cupboard was 54cm so I used 80cm of fabric. I've never sewn curtains before but this fabric was easy to line up due to the linear pattern. I used heat and bond lite (cut into thin strips) to hem the sides of the fabric. To use this you simply iron down the heat and bond lite. Then peel off the top and the two fabric sides will stick together once ironed. This made it easy to get the hem straight and then I used the sewing machine to stitch down the hem except for the top. I double measured the length and hemmed the top, leaving a gap big enough to threat through some stretch plastic. I used hooks to hang the fabric and then had a cute little curtain which really completed the neat look of the laundry.
As we used supplies that we already had, I only had to purchase the lampshade, curtain fabric and ironing hook which made this makeover cost less than $80 for the whole update. While the laundry is already a massive improvement there are still a few plans on the horizon.
Future ideas:
-Add some more artwork.
- Look at cabinet options for above the machine/trough
- Possibly buy a dryer (a baby is going to make a lot of extra washing)
-Maybe one day add a toilet to the room so our house has a second toilet.

Washing just got a whole lot more enjoyable :)
Lisa x

Friday, 7 March 2014

Updating a thrifted lamp.

before
 I found a lamp at a garage sale about a year ago and knew it could be saved and made into something nice for the house.I liked the details on the base but it needed some work before I would actually use it. This was such an easy DIY and I am blown away by how much better it now looks. Let's take it back to the before...


And now the how to... Steps to an updated lamp:
1. Paint the base. I sanded it lightly and gave it two coats of china white and two coats of a pale yellow I had lying around.
2.Find a lampshade. The original lampshade was too big and bulky so I found a free lampshade on the roadside. This one was in good condition and much smaller.
3. Make a template out of craft paper by tracing around the lamp
4. Use the craft paper template to cut out some fabric. I chose a beautiful yellow and black floral fabric that I had bought extra of (the rest of the fabric will hopefully be backing for a quilt).
5. Make sure the fabric fits the lampshade. Slowly attach the fabric in small section using mod podge and a paint brush.
6.When all the fabric has been applied use mod podge to hold the edges in place and pin down with safety pins to hold in place. I also chose to add some yellow ribbon on the inside of the lampshade to finish all the edges off neatly.
The before and after really shows the massive difference.
 And now for some detail shots:

To make the base and top (where the fabric was cut off) a bit neater I trimmed it back and mod podged some plain yellow ribbon around the edges. I am just so pleased with how it turned out. It's such a cute and unique lamp and just perfect for the nursery. It actually worked out far better than I thought it would be and the whole process was quite easy, only taking a few hours. I think I'll  be searching some more thrift shops for lamps, after all I still have plenty of mod podge, fabric and ideas :)
Lisa x
P.S I'm linking up with

Monday, 29 October 2012

Garden lighting.

For a while now I've been looking out for a chandelier I could love and turn into something amazing. I always thought it would be an indoor light but now I am convinced an outdoor chandelier will be much more exciting!
In the freebie pile at a garage sale was the perfect base.
First off I rubbed it down with turps to make sure it was all clean.
I meant to buy primer but forgot to so I went straight for some cream rust free paint.
It already was a big difference.


Then I experimented with different ways of attaching tea cups. I was going to screw through the teacups to hold them in place but found that liquid nails worked well. I plan on putting citronella candles in the teacups to keep the mosquitoes away during bbqs etc.

The only challenge left is to work out where to hang it and hang it up.
I'm pretty happy with my quick and easy transformation made using things I already had and a can of rust free spray paint.
Happy thrifting!