Showing posts with label old frame. Show all posts

Wednesday, 25 June 2014

Pinspiration making part 4- bathroom mirrors.

I'd been looking through pinterest for a while trying to work out how I could make my builder's grade mirrors just a tad more special in the bathroom. They are both huge mirrors and I didn't want to remove them as I actually enjoy having so much mirror. The extent of mirrors in the room really opens up the space and makes the room feel more light filled. I came across the idea of framing builder's grade mirrors and from there on I was set. 
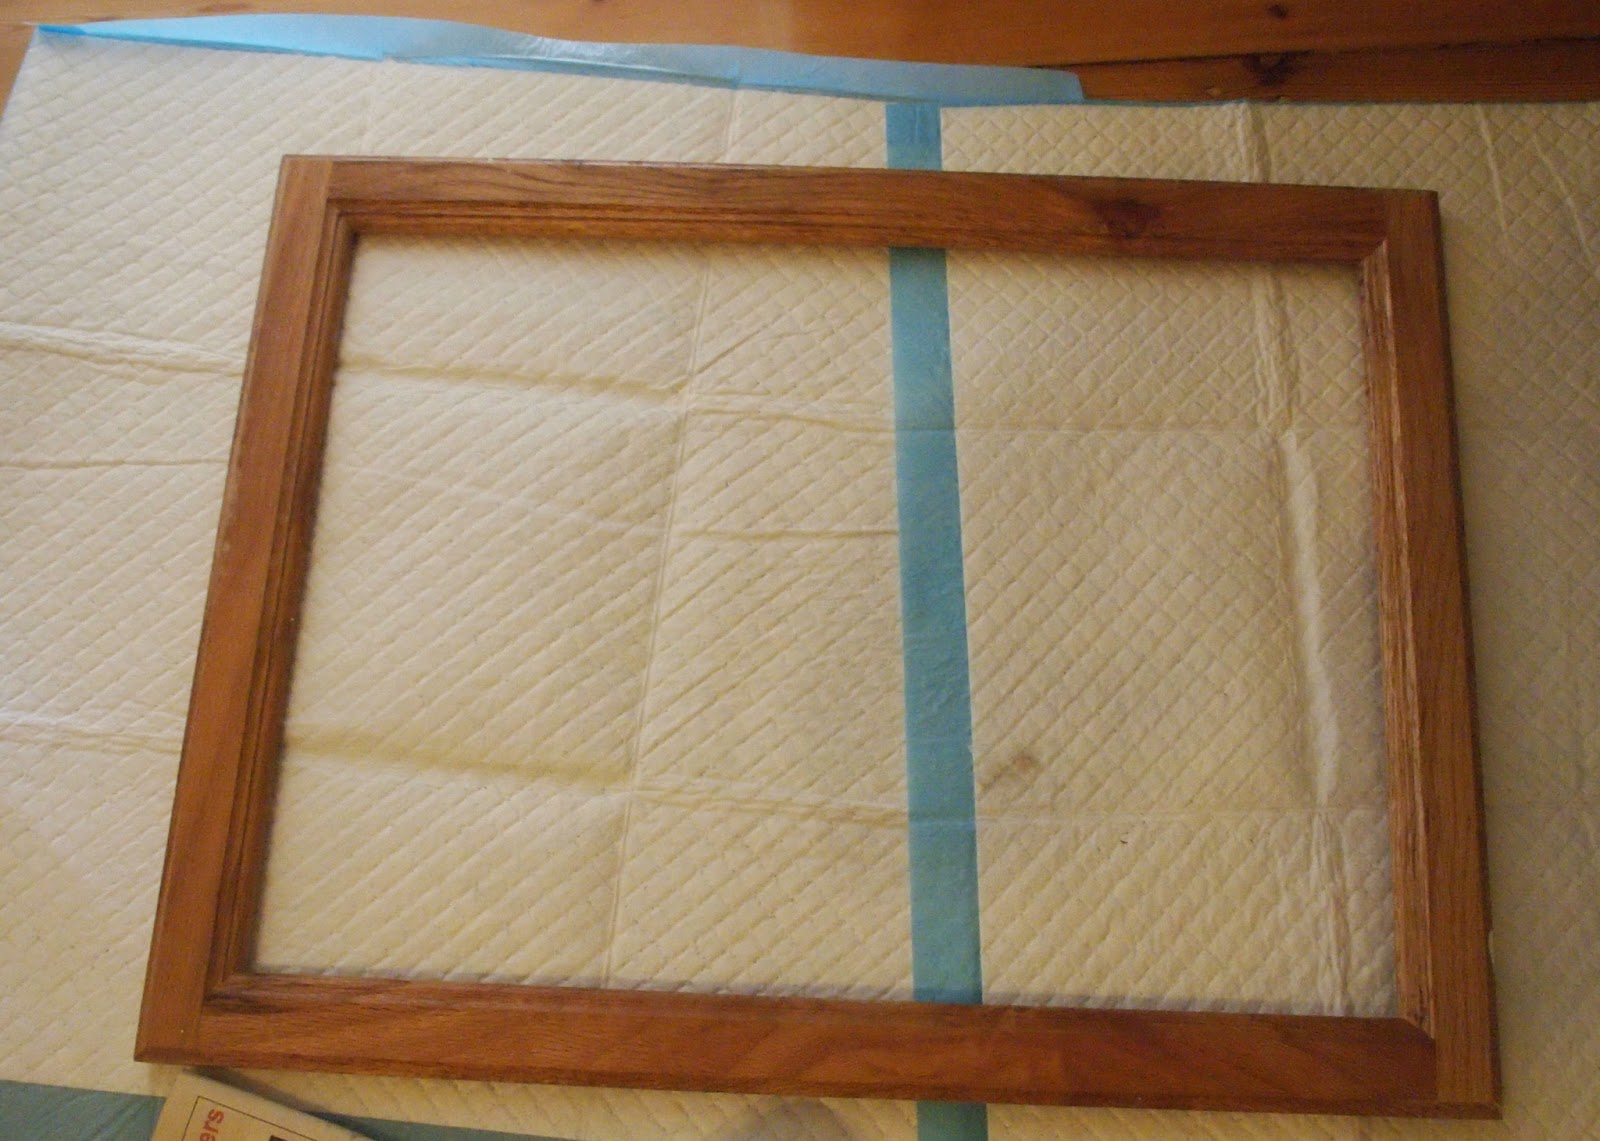
My Dad has far too much wood in his shed so using some pieces of pine that he had my Grandpa constructed some frames for the mirrors. Once constructed these frames then needed a coat of primer and two coats of enamel white paint before they were ready to put up.

The only way to really show both bathroom mirrors before was to get a very pregnant me in the photo. In this photo you can see the whole bathroom except for the area to the side which is home to double shower heads.
mirror 1
 before
In the corner of mirror 1, closest to the window, was a piece of cracked glass which we wanted to cover. The edging of the mirror was in pretty bad shape too. We used the width of the crack in the glass to determine the width of the frame. For this mirror we used a regular frame with no shelving or other features.

mirror 2
before
This mirror is one that gets used a lot as it is where husband and I get ready every morning so we wanted to have just a little bit more storage. We're both fairly minimalistic with the toiletries we use regularly so we wanted just little shelves on each side to hold those most used items and then all our other sometimes toiletries can be kept in the vanity. 
The shelves were put on either side of the double sink so they are clearly one for me and one for husband. We used the existing shelf to help hold up the new shelves and frame.


I'm loving the difference in the above pictures between the before and after snaps.
I only have one more diy project in mind for the bathroom before I'll consider phase 1 of the bathroom makeover finished so hopefully that will happen soon. So far the only completely finished rooms in the house are the toilet and the nursery.
For photos/tips of how we got the bathroom to the stage it is now see this post on wallpaper removal and bathroom painting.
Lisa x


Friday, 23 May 2014

Black gallery wall and a look around the lounge room.

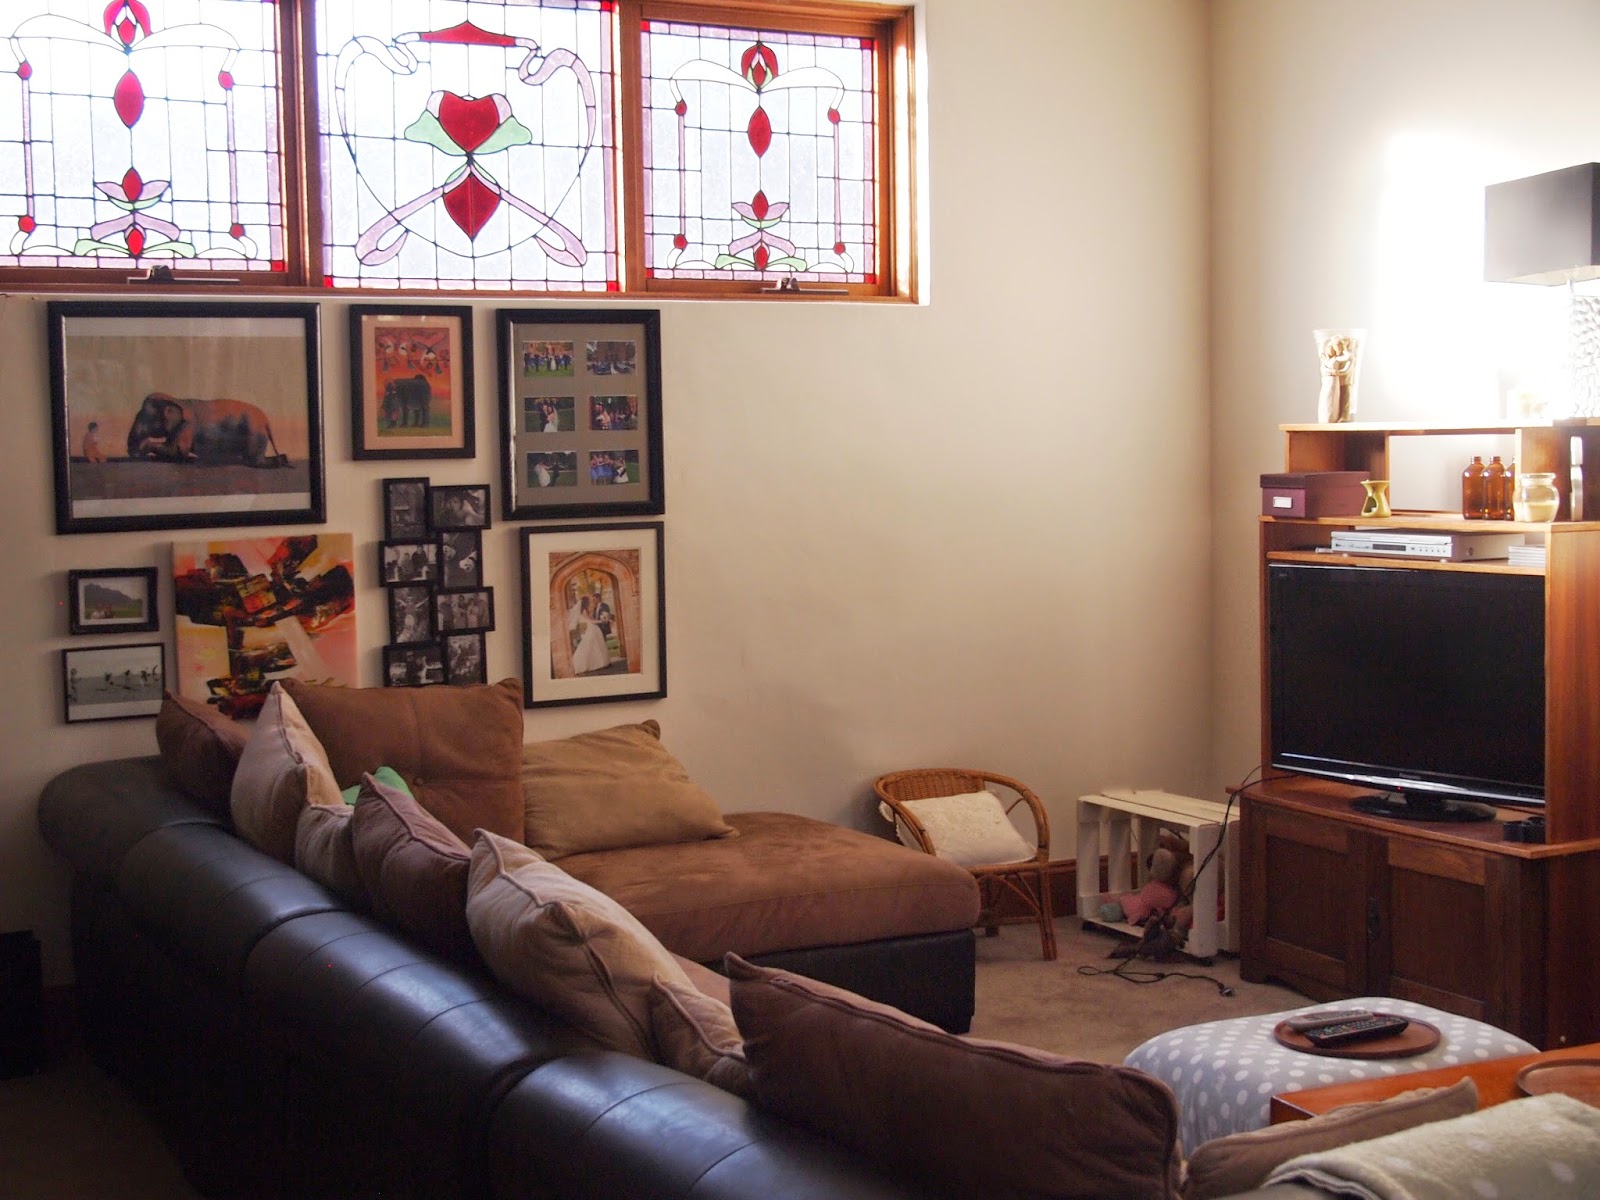
Once pictures are put on the wall in a home, it starts to immediately feel more homely. I'd been planning a black gallery wall for a while now and the frames had been on a pile in the lounge room, taking up space, with me hoping that no one would step on them or smash the glass.
The lighting in the lounge room is a bit tricky as our house is built around a large glass atrium so there is a bit of glare during the day but not that much (see below photo for the reflections).
A few of the frames were actually brown  (the elephant picture and the top right picture) but with two coats of black, they looked like they'd always been black and that saved me the $ of buying new frames and reframing the artwork. I really just collected every black or somewhat black framed piece of artwork/photograph that I own and worked out how best to arrange them. These pieces are all special to me and I'm thankful to be able to see them lots. The elephant picture is actually hand sewn by some people in Vietnam with disabilities and the painting below it was hand painted in Vietnam.  The hippo painting was purchased in Zanzibar and the photos are all special snaps, including a few from our wedding.


It creates a nice focal point in our lounge room and something for guests to look at when they visit. While putting together a gallery wall can be a bit frustrating, we feel like the layout now is working for us. Our lounge room (which is a large room including the dining room and kitchen) is becomming more homely. I am a particular fan of the bird pillow too which was thrifted from a garage sale for $1. Apart from potentially adding a few more accessories to the television cabinet, I feel like this area is complete...although I am dreaming up some special shelving for an area of the wall...there are just too many great ideas and sources of inspiration out there! And just to show you the big change, here's a little before and after...

This probably isn't the best before and after snap ever as the lighting was much better in the before photo and it is hard to tell that the walls were actually a little apricot colour and now are white. However what you can tell from this after picture is that our evolving furniture and items are really starting to make the place feel more like us.. I'll just need to keep working on my photography skills!
Lisa x
PS for details sake:
the couch - harvey normans (4 years ago)
Every other item thrifted

Tuesday, 11 March 2014

Pinspiration making- part 2.

For the next installment of 'Pinspiration making' it's time to share a craft which combines my love of old frames and cute animal images. I finally used up some of my craft supplies that had been sitting around for a while.
Project 2: A decorative shelf for books and bits and bobs.
here
I had thrifted a gold frame about five months earlier and knew it would be perfect for this next project and would predict the size that the box would be. The box is not quite mounted yet but is just so adorably cute. The feature find was some wallpaper that I was given years ago by a staff member who was throwing out their old wallpaper. I saved it in the hope I could one day use it in a nursery and while it was just a little piece of wallpaper, it proved to be enough for this project. The frame I thrifted I was in average condition but with a touch of gold paint is now perfect. I just love this cute box and when it's hanging on the wall will be a great place to house toys in easy reach and access for bubs.
 
This photos above really shows off just how adorable the wallpaper is. I don't know why but my heart just melts when I see animals dressed up. The frame also touched up beautifully, with gold paint- just like new.
Check out my pinterest board for many more ideas that are inspiring me at the moment.

Monday, 10 March 2014

Pinspiration making -part 1.

I've been pinning lots of great ideas and thought it was about time I tried to recreate some (with help from my handy Grandpa of course). Grandpa is amazing and together we created our own versions of some crafts I'd been eyeing off.  I've decided to divide these projects into a series called Pinspiration making so for the next few days I'll be sharing how I (and my handy Grandpa) have been inspired to create our own beautiful objects.
Project 1: A baby gym with hanging toys.
here
I saw this gorgeous simple baby gym and realised it would be easy as to recreate, although I still have to wait another few months before I can too have a cutie lying underneath it, starring up at their little toys. Finding a quilt was easy as I'd already made my own quilt. I chose to paint the frame white as every other piece of furniture in the room is white. I don't really have any baby toys yet so I've just attached a few things I found in the second hand goodies some friends gave as hand me downs since they've already had their babies. My baby gym is a little bit different to the original too as it was made so the pieces can be taken apart easily and put away when not in use.


Got to love pinterest for all the fantastic inspiration! I've got plenty more ideas planned...check out my pinterest board for many more ideas that are inspiring me at the moment.

Sunday, 12 January 2014

Treasures from the old owners.

I posted recently about upcycling roadside finds by painting them white. Today I thought I'd share some ways I updated a few items the old owners of our house left behind. I wanted to try and use what I could find , rather and going out and buying new things.White is fabulous and fresh but sometimes things need to a bit of something extra to make them unique.
1) This wooden framed mirror was hanging in our toilet when we first moved in. I sanded it back and gave it a few coats of white paint. However the frame seems just a little too paint so I used a glue gun to attach a thrifted golden deer.
BEFORE
2) This frame was found behind a cupboard when we were cleaning out the new house. I used painter's tape to form straight lines and gave it two coats of yellow paint before removing the tape.
For the design I used a deer stencil and painted it black on grey paper.

3) There was an interesting pot in the yard when we moved in  that was covered in stenciled stars so I gave it a couple coats of white paint before wrapping some fluro washi tape around two areas to make the pot have a bit more bling ( see above). In the pot are some spring onions as they are so easy to grow!

4) And then again sometimes white is all that is needed. When clearing the yard (for a huge reno project we have going on with our fence), I found this shell that was a lovely shape. After cleaning it, I just gave it one coat of white paint and it's now a chic decorative item.
BEFORE
These projects were all very easy and took hardly anytime at all using supplies I had lying around the craft room. It's so satisfying to save some items left behind and give them a personal touch. I'm hoping to finish some more wall painting so I can hang the mirror and frame without the pink/apricot walls.
Lisa x
P.S I'm linking up with


Saturday, 27 April 2013

Frame, florals and mail.

I've been on holidays so loving finally getting a few projects done and I thought I'd share a few little updates I've finally got around to doing. I made a large corkboard using a frame I'd thrifted and on old pinboard. It's been sitting in the study for a while and I finally put it up. I added a few projects I want to do to the pinboard and also a photo of our new house for inspiration. I am so excited about all the new possibilities for this hopefully long term home of ours.


I've also gotten a bit into the florals. I have started a little collection of vintage floral pillowcases. I just love the spark of prettiness they add to the bed.

I also finally got a chance to visit a new op shop that opened in my town and was excited to find this great little organiser for mail. I've always got mail lying around the place and now it's all packed away. I just need to empty the bill section and then I'll be really happy :)


Lisa x

Saturday, 23 February 2013

Fabric tape makes my heart sing.

I don't know if you can buy fabric in tape form in Australia. You certainly can't find it where I live so when I was in singapore I bought a lot of it (3 rolls for $2- what a bargain). In fact I kind of wish I'd bought more as I'm having to ration it since I do love it so. I shared my fabric taped pot and today I thought I'd share a few other ways fabric tape is rocking my world ( you can really sense the love :))
Remember this beautiful little frame that I scored on the macklemore thrift shop challenge? I used fabric tape and this here print to create my own pretty little artwork. 

I'm a Christian and love to share that proudly in my home but I wanted to step away from the sort of things you find in Christian book shops and share my faith in my kind of style with a little display in our dining room. If you're wondering what's with the glasses hanging above, if I did a full scale photo you'd also see my rake glass display.
I really love how the fabric tape, frame and print fit so beautifully together. But my fabric tape obsession doesn't stop there as my tape dispenser and lamp also got a little bit of fabric tape love.

Now what to tape next? Have you used fabric tape before? Where can I buy more?
Lisa x
p.s I'm linking up with

Thursday, 15 November 2012

A whole lotta frames.


You have been warned. This post has a lot of pictures of frames! I seem to keep finding pretty ones and since our home has an incredible amount of wall space - thanks to very high ceilings- I feel compelled to fill it up a little more.
You've already seen my frame earring display but today I thought I'd share a couple other ways I have used thrifted frames in my home.
I found these little frames on a garage sale and I thought they'd be great to attach magnets to and use on the fridge. After all who doesn't like to pretty up their fridge a bit. They look nice too with our scrabble magnets.
before:
The first frame was filled with a gorgeous card I found at a garage sale. I then printed a lovely quote for the second frame but decided it looked nice on top of my wardrobe so I didn't end up adding magnets.


Another way to update a tired old frame is to turn it into a pinboard.

I found this old frame on a garage sale and  was already pleased with the colour but needed to find the perfect use. Since I'm setting up my office area I decided I could do. This was super easy and took next to no time to complete.

I had an old pinboard from an old craft project which I didnt really like and decided to cut up and make into a few other pinboards that I would actually like and use.
I simply cut the old corkboard to size using regular old scissors and inserted it. For finishing touches I added
my scrabble thumb tacks.
Woohoo you've made it to the end of this frametastic post.
I'm linking up with Southern Lovely ,We Like To Learn As We Go,The Shabby Creek Cottage,Someday Crafts

Happy thrifting 
Lisa x

Tuesday, 6 November 2012

Earrings on display.

Ah it's november already!- practically 4 months down in my thrifty challenge and finally a post for november. I promise some more regular posting coming up!
Let's get this month started with a super easy craft.
I love a pretty pair of earrings. They can help make an outfit pop! but I'm always losing one or forget I own them so I made a nifty little display for some of my favourites.
It's so easy. All you need is
a frame
a doily
a staple gun
I actually gave my frame 2 coats of bermuda blue spray paint since it was a pretty old and ordinary looking frame but if you're frame is nice, why bother?
Then I found a good sized doily and stapled it in place around the frame.
I put in my earrings and voila!- easy to see, looking pretty!

And remember my old restored wardrobe? I got round to adding some new draw handles which I think really work. Goodbye only having one handle and hello to matching cute handles which complete my project. Finally I can cross this one of the to do list.
Lisa x