Showing posts with label furniture restoration. Show all posts

Saturday, 19 April 2014

Making a window seat for the library.

It's been a joy to go through my parent's old furniture stash and see what items might just work in our new place. It's good for both of us as I get free furniture to fix up and they get to declutter and have more space. One particular item that caught my eye was a chest that was in great condition but not very attractive. It was just the right height and width to fit underneath the window in the library and seemed like a good cheap way to get us a window seat. I love giving life to old things and finding cheap alternatives for finishing off the room.
before
It was an easy choice to paint the chest white as I wanted it to match my white painted bookshelf. The chest needed a sand down and a coat of primer, before being given two coats of white.Once it was painted white, the next challenge was finding the right materials to change the chest into a window seat. My goal was to get make a nice chair using materials that were comfortable and didn't cost too much.
After looking around at different fabrics I settled on a green gingham print which would go nicely with the reupholstered baroque chair that was already in the library. I usually always go for neutral colours but I'm really getting into different shades of green lately and fell for the fabric (which using a voucher was only $1.30). Foam is never that cheap so I stretched the budget and bought a big piece that fit the top and was about 10cm high. Hopefully I will get lots of use from this seat! Then I cut some old mdf, from a stash in the shed, to the size of the bench top and started the upholstery process.
Cut the fabric to size leaving around 10cm on each edge to staple down. Line the fabric up straight (easier with non gingham print fabric). Then I used a staple gun to staple down the top longest sides. 

Corners are always the trickiest and I'm not perfect at it but I've included an underneath photo to show how I decided to do the corners.


To finish off I put the upholstered bench seat on top of the chest and now I have a new seat. This room is starting to feel a bit more purposeful and like it will actually get some use.  Now four people can sit in the room :) I'm no pro upholsterer but this seat is the perfect size for on top of the chest and looks neat and nice. I would show a whole room photo but we are currently painting the walls (from a hideous shade of dark pink) so the room is not in a photo worthy state- but hopefully will be soon!

Still to do in this room:
- paint walls and ceiling white
-find a lounge or larger item of seating
-hang up some artwork
- find a bigger bookcase for the other side of the chest? (one day I'd love to have built ins but for now this girl is gonna dream).
Lisa x

Tuesday, 1 April 2014

Lamp table.

I got this pathetically ordinary lamp table for free the other day and wanted to make it into something a bit more special that could hold the new lamp I upcycled. I had no where to put the lamp so this little find is the perfect solution and also a place to hold some beautiful brass giraffes that I was given as a baby by an Aunty.
Like I always believe, a coat of paint can make a world of difference. Even after a coat of primer and two coats of white paint, it was looking far more like something I'd have in my house and want to use.
But a white table is just a little bit boring, I changed it up every so slightly by using some leftover 'silver dollar' grey paint to make a bit of interest to the legs.I considered changing up the top too but for now the white paint just makes the lamp and giraffes pop.

 
And the room is certainly coming together as I've also recently bought a second hand cot and rocking chair so all the furniture in the room is now purchased. The lamp table will need to move when bubs starts crawling and walking but it is a nice solution for the moment and looks cute between the growth chart and gallery wall.
There is still three months to go but I am so pleased to have this room almost complete. Now I just need to stock the cupboards and actually have this little baby :-)
Lisa x

Friday, 28 March 2014

Fixing up a free dresser.

 There is nothing like walking out your front door and finding a dresser just sitting there- especially when you've been needing another dresser for month to hold your pile of clothing that no longer fits your growing baby bump.
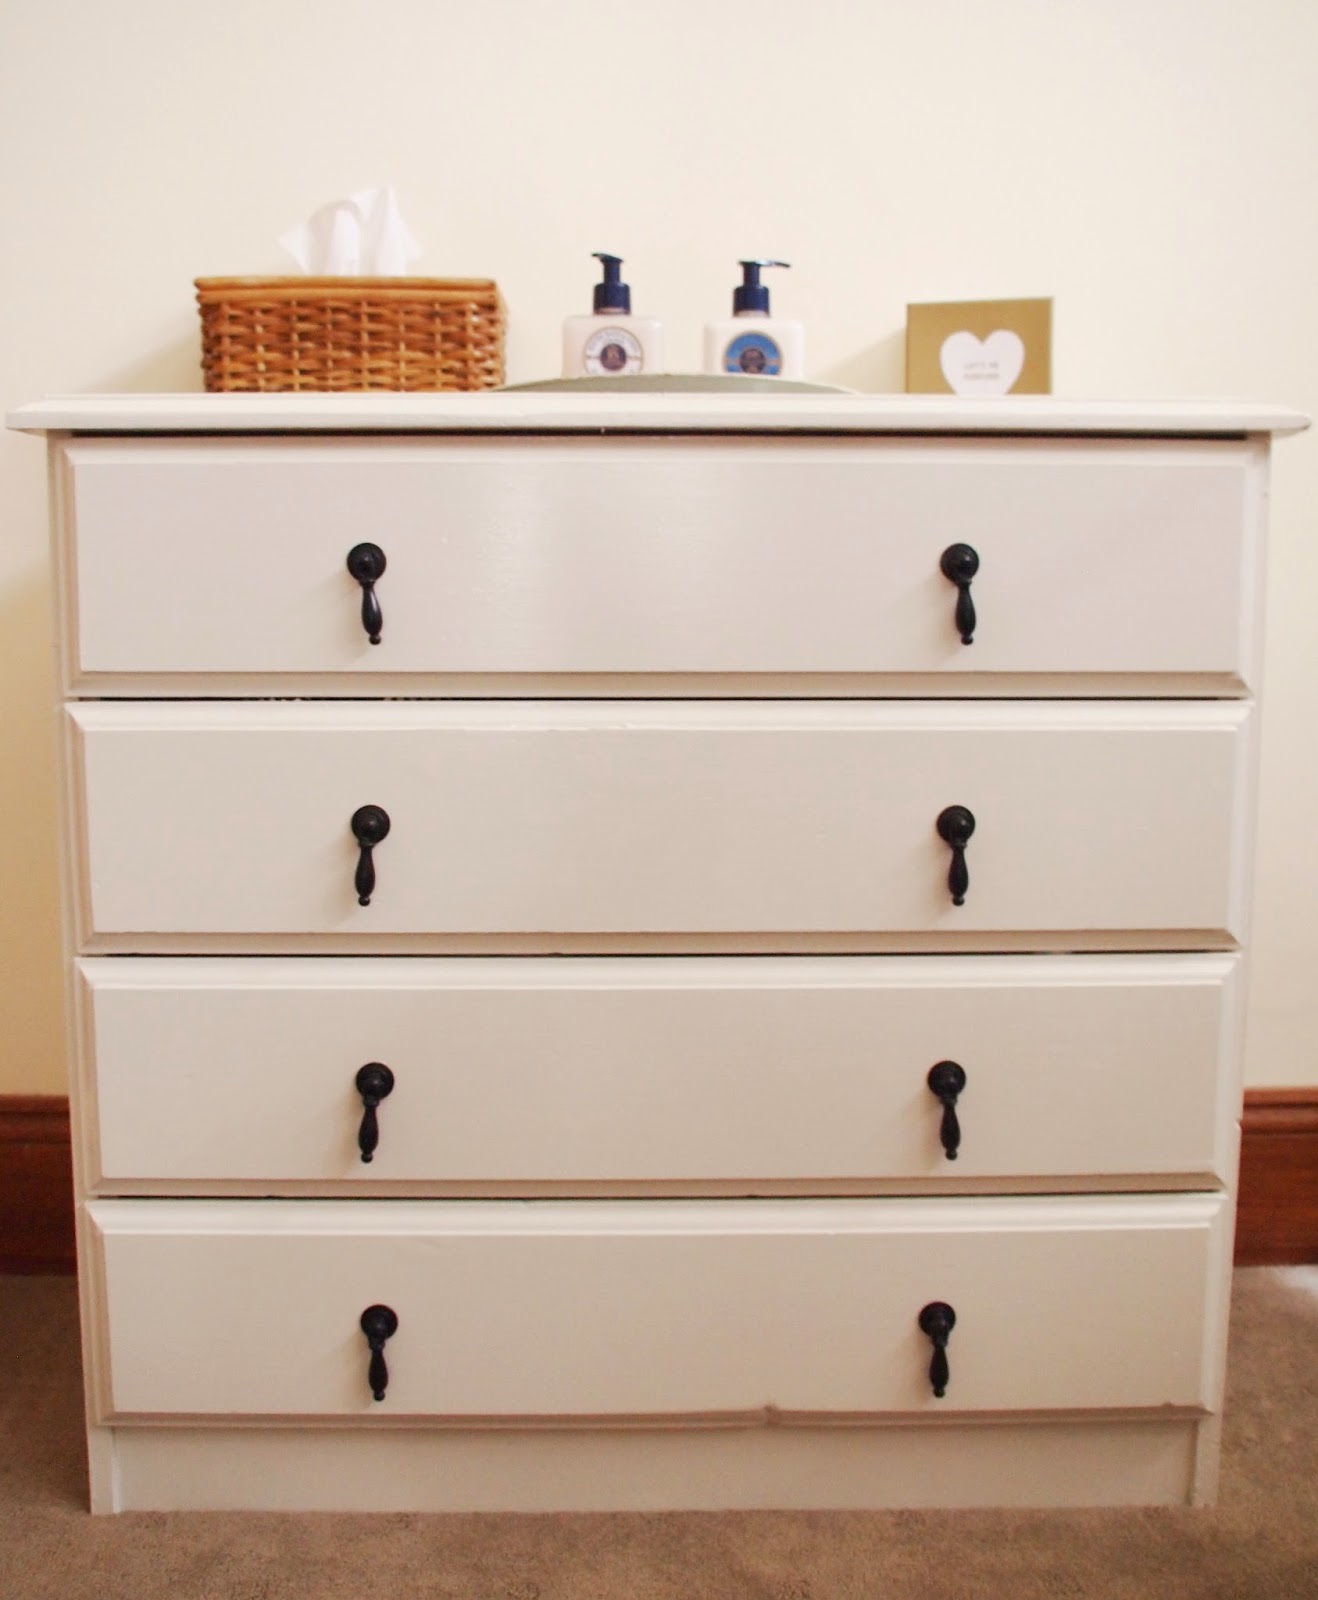
I couldn't believe my luck when  I walked outside and there was a dresser on our front lawn. I am assuming a neighbour was getting rid of it. Talk about good luck and just needing a sack truck to get it up the drive way. The dresser was well made but its previous owners had done a horrific job painting it. The paint was patchy at best and peeling all over. I really should have zoomed in closer for the before picture as I was shocked at what a nasty rush paint job it had previously had. However free dresser- No complaints here!
before
While restoring a white dresser is not the most exciting fix up, my new cleanly painted dresser looks great. It took a bit of sanding back, some minor patching and a few coats of white paint before it was looking brand new. I am so pleased that the handles were in fine form so needed no work. I lined the drawers with old white wallpaper cut to size and then stuffed them full of clothes which I will hopefully be back into in the next six months. For now it holds some tissues, a cute thrifted floral tray and a lovely l'occtaine gift pack I was recently gifted.
It sits in our bedroom just below a shelf full of jewellery and there is a space between it and a large chair for a bassinet which will be bubs bed for the first few months. It's lovely to have a little bit more bench space and I imagine over time it will probably be home to extra makeup and accessories.
Have you ever just walked outside and found the item you needed on your front lawn. I love free surprises and here's hoping the neighbours might want to part with a baroque style chaise or large bookshelf soon...just putting it out there :-)
Lisa x


Monday, 24 March 2014

Display cabinet.

Last week was pretty busy with some big projects getting completed around the house and my laptop dying and needing repair so I only had a chance to post once but this week I'm back with a whole lot of new ideas and projects to show.
Finally something to share that I haven't painted white. I like neutral furniture as it is timeless but my parents had this little display cabinet which was itching to be made into something more interesting and special.
Before ( technically this is after the first coat of primer but I forgot to take a photo at the start. It was actually a dark black wood.)

So the colour choice was turquoise. I love the colour and choose it as I had some old thrifted wallpaper it would look amazing with. While I'm not 100% sure where to put it, it looks great with a Marilyn Monroe pop art piece I picked up in Vietnam and a wooden box I thrifted (and gave a coat of the same turquoise paint to). I am definitely thinking of using these items when I get around to decorating the lounge/ dining room. Of course I need to paint the walls a crisp white first and lose the apricot walls that currently uninspiring me and don't work with many colours at all.
Painted box and Marilyn Monroe art on canvas.
The display cabinet needed a coat of primer and then two coats of turquoise paint. When finished I removed the shelves and attached wallpaper to the back. It looks even better than I thought it would and I love how unique it is.


And now for a side by side photo to show the big change.


It's perfect to display pretty things and I want it to end up a little like this gorgeous turquoise cabinet.  I think I'll be searching thrift stores for little birds and deers, after all can a house have too many deers and birds?
For now I'll enjoy this cute new piece of furniture and dream up where it should be mounted :-)
Lisa x

Monday, 17 March 2014

Library bookcase.

It's painting time again! I think I'm getting obsessed with easy transformations involving paint. In our 'library' there are really no decent bookshelves and books were stored in rickety pieces of wood and crates. When my parents showed me a bookshelf they had in their garage that they weren't using, I just knew I needed to fix it up and create some space for books so they don't just line the floor in crates.
Before:
Pine is just not my thing. I like being adventurous with paint but as this bookshelf is kind of meant to blend into the room and just showcase pretty books I opted for sanding, a coat of primer and then two coats of a china white paint (my go to paint for  the crates, the rattan chairs and the nursery built ins. It just makes me smile so much to have fresher brighter furniture with the house. 
While the white bookshelf is just a small change to the room, I had a great time filling it up with so many pretty books. I'm no expert at book styling but I decided to go a little different and sort the books by colours. I also used some thrifted bookends for an extra touch.
When cleaning up the yard I found some beautiful green pots and while they've just been cleaned up for now, I'm planning on having a go at some indoor plants and greening up the room a little.
I still have many ideas for the space, including getting another similar bookcase in the room and ending up with a space that draws on beautiful antique items, like the old fireplace and marbled ceiling trim but also combines then with modern items collected from travels. I also look forward to the day when the pink walls are gone for good.
If you haven't tried arranging books by colours, give it a go, it's very relaxing and the end result is just so pretty. Rainbows always make me smile :)
Lisa x

Wednesday, 8 January 2014

Make me white.

There seems to be nothing like a fresh coat of paint to spice up a piece of old furniture. Now that I am on holidays I finally have the time to coat a range of different thrifted items with some white paint to make them shiny and new looking.Each item required the sand process; sand, prime and then 2 coats of white.
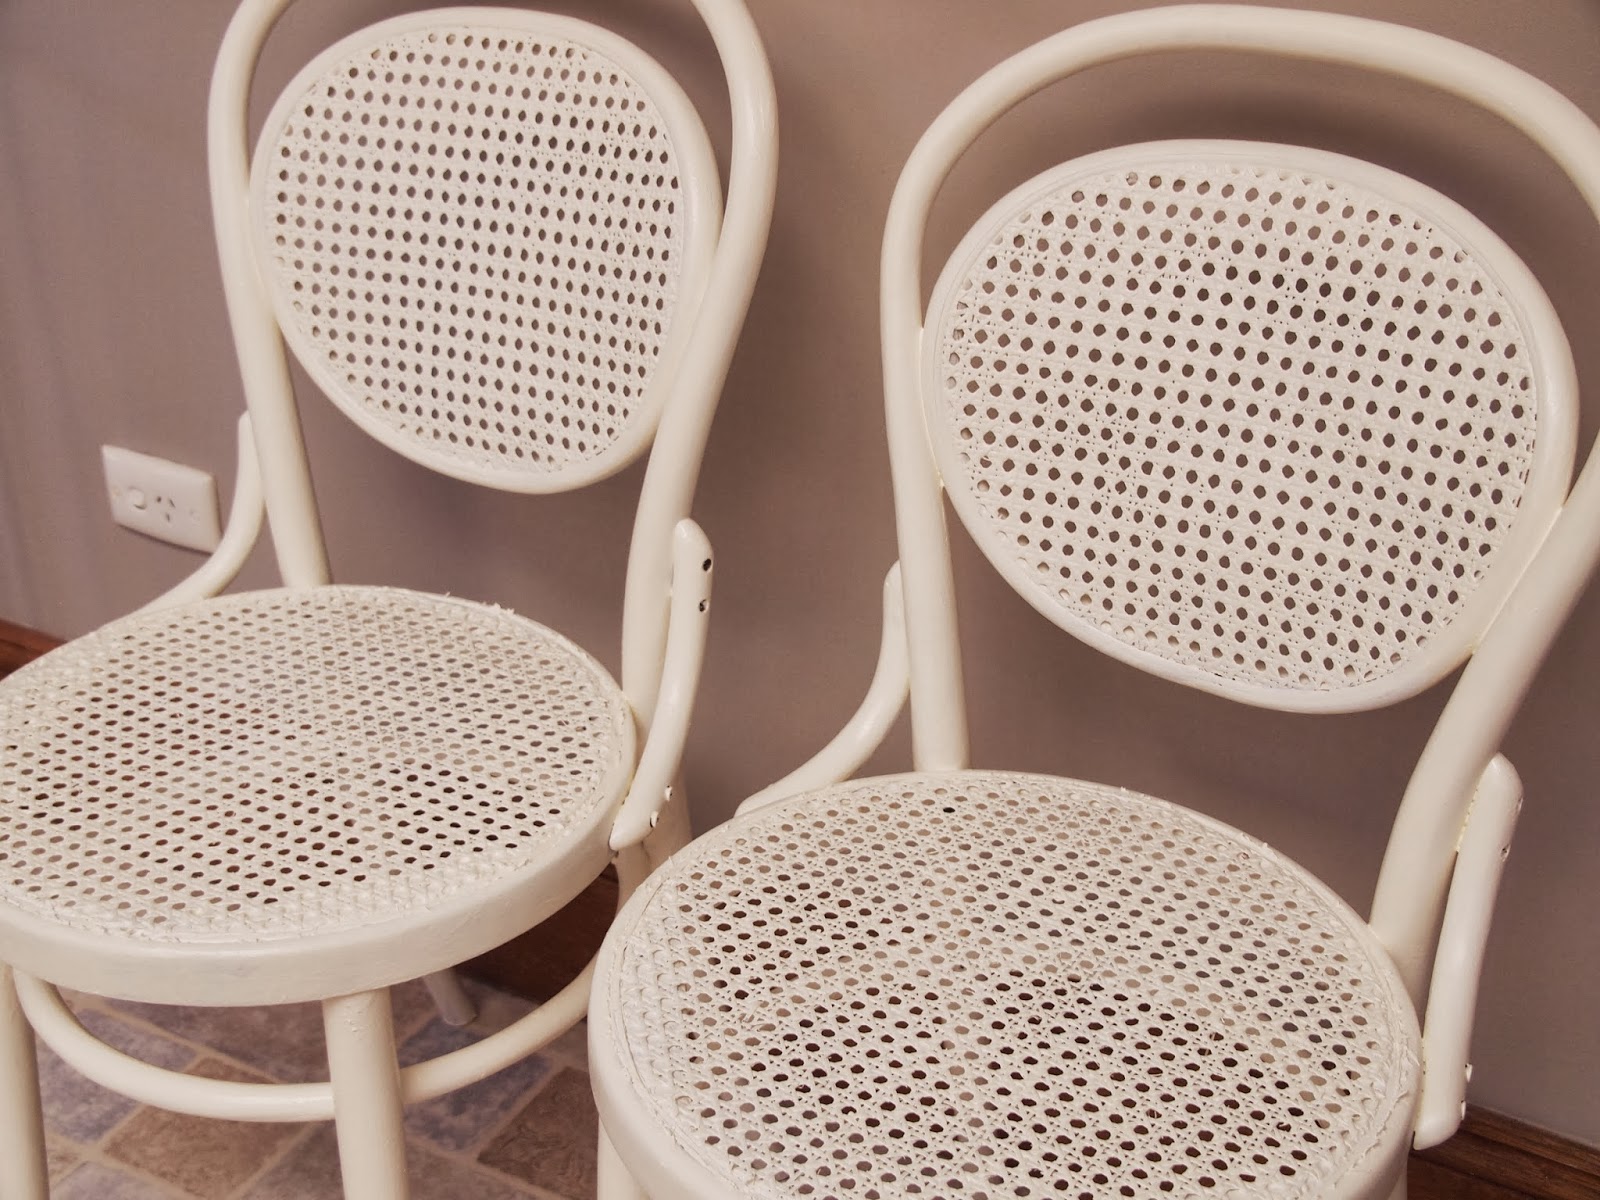
Remember my old rattan chairs? Well they look amazing now they're white.
BEFORE
To make the chairs more comfortable, I picked up some gorgeous circular chair pads on post Christmas sale.
I also painted up a towel rack that I found on the side of the room recently and half a ladder that I picked for $2 from my last ever garage sale in the country town. These look so much better white, though I wish I hadn't got quite so excited and remembered to take some before photos.I will be using both these items in the guest room and can't wait to find the perfect spot to mount the ladder and use it hold some pretty blankets.
These items spice up spaces in the new house and really look so much nicer with just a coat of paint! I just need to paint the walls now too, I can't wait to lose the pink walls :)
Now time to tackle the 100 other craft projects that I've left on hold lately.
Lisa x
P.S I'm linking up with 
Someday Crafts

Monday, 17 December 2012

Fixing up a 1950's chrome kitchen table.

source
This little retro kitchen makes my heart sing! It's so happy and cute and my dream kitchen would be something like the above picture.
Today the reality came just that little bit closer when I scored a cute table and 4 chairs for $50 from an estate auction.
It was in okay condition but the chrome shine was gone and there were lots of marks everywhere.
I am not the best at remembering to take before photos since I just get far too excited about new projects but this is what it looked like after a quick rub with some Brasso.
It was getting there but still not as shiny as I'd hoped for. The difference was quite noticeable.
We (handyman dad and I) decided to get out a drill with a polisher and give that a go and it was extremely successful.

We ended up going through 2 polishing pads to do the chrome edge but as you can see from the photos- the difference between the polisher and the Brasso was huge.
Once the edge was chromed we tried to bring up the colour in the table top by using timber wax polish.
As you can see it made the top darker and it also felt much shinier. The photo probably doesn't give the wax improvement much justice but it was considerably better.

And there you have it- my newly shined up kitchen setting in all her glory. I still have a long way to go with my retro kitchen plans but am so pleased to have found the centre piece.
And for whoever is interested, a breakdown of the costs:
$50 table and chairs from an estate auction
$8 timber wax polish
$10 Brasso
I already had the polisher connection for my drill but you can get a 4 pack for about $10.
I also used Jif which we had in the cupboard to clean the chairs a bit further.
Time taken: app 2 hours as polishing the edge with a tiny piece took a while and we needed a few trips to the store and tests to see what would work out.
So for $68 and 2 hours here's my beautiful new kitchen table- just in time for christmas entertaining.
Lisa x
P.s I'm linking up with

Friday, 27 July 2012

and with a lick of paint.

before (I forgot to take a before photo before I did the coat of primer.)

So this is a pretty easy fix up job but shows the big difference a coat of paint can make. I bought this coffee table from an op shop for $5 because I thought the legs were awfully cute.
All I needed to do to make it right for the lounge room was give it a coat of primer and then two coats of black paint. 

I love how paint can make such a difference.
Lisa x

Wednesday, 25 July 2012

Changing up an old wardrobe.

before (found at a garage sale and delivered for $5)
after it was sanded and given the first coat of stain and varnish.
So I've decided to get more into furniture restoration- especially since I need a new cupboard and this one was so cheap. It was a much bigger project than my hallway bench but I managed.
You will need:
About 3L of stain and varnish- I used a chocolate colour.
Some sanders (a orbit sander, a triangle shaped one for the corners and a finishing sander)
A damp cloth
Paint brush
Some handles (I'm still yet to find exactly the right ones).
How to:
Sand back the cupboard - first with the orbit sander, then doing the corners using the triangle shaped one.
Then wipe the cupboard down slightly with a damp cloth before finishing off with a finishing sander.
Make sure your cupboard is well sanded (if you need to sand it) as it makes painting so much easier.
Then I just gave it two coats of stain and varnish and it was done.

Then I put the hinges back on the cupboard and put some temporary handles on. In total the project cost about $50 for a paint brush, handles and the stain and varnish. I was lucky enough to be able to borrow the sanders from my lovely neighbour but if not they are quite pricey so make sure you're really keen before investing.


I haven't quite found the perfect handles yet, but I'm already using it and loving it. For a beginner in furniture restoration I'm pleased with the end result.
Now to start my next project...
Lisa x

Friday, 13 July 2012

A hallway bench.

before
On this blog I will be showing you how I find old things cheaply and give them a new lease of life.
This phone table cost $2 from a garage sale.
It was the perfect size for our hallway and I thought it would make an excellent hallway bench.
during
How to:
I removed the draw and the seat.
Then I gave it 2 coats of white paint.
A kind friend cut some plywood to size for me (plywood was $13 from the hardware store but I have some left over) and lent me his staple gun.
I got some upholstery material from a friend that was just a bit bigger than the plywood and cut up some foam cushions I had lying around to create a foam seat.
Then I put the foam on the plywood and wrapped the material around using a staple gun to hold it in place.
 And voila...